
Paver Pete demonstrates how to install our Avignon edge product.
When we did this project, we protected the jobsite with tarps because a rain event occurred.
After it ended, we add to remove these tarps while being careful not to supersaturate the bedding layer.
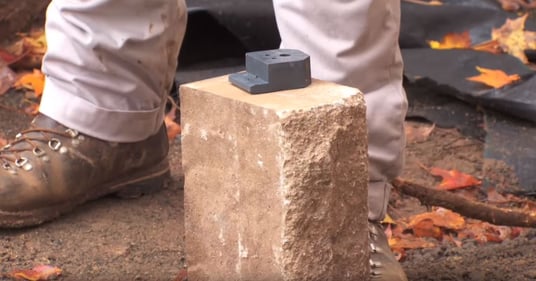
Then, we started installing our Avignon edge product. For more information on our edge products, head to techo-bloc.com/en/product-category/edges/
With a chiseled top and a sculpted side, it complements the walls and capping very well.
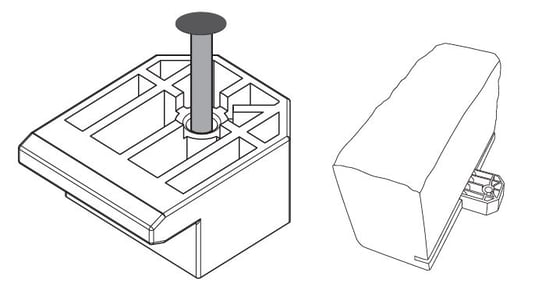
This edge, as well as our Pietra product, comes with a plastic edge restraint system. Nails are not included.
Here are the steps we followed.
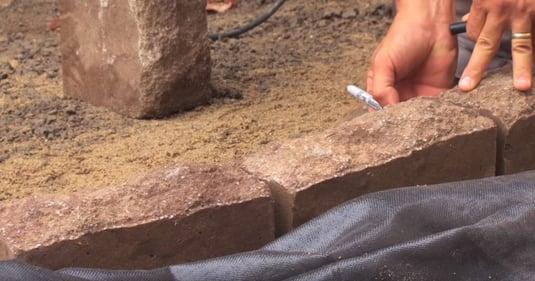
STEP 1: Insert the edge restraint in the back groove of the blocks.
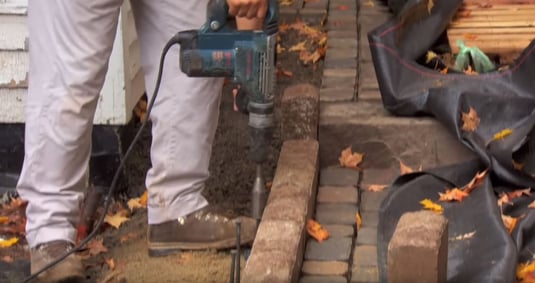
STEP 2: Secure the blocks in place with the use of 8"or 10" (200 mm or 250 mm) nails.
An hammer drill can be used for this step. It demands less effort than a standard hammer and it won’t hurt your knees.

As we secured the blocks, we noticed pie-shaped openings in-between them.
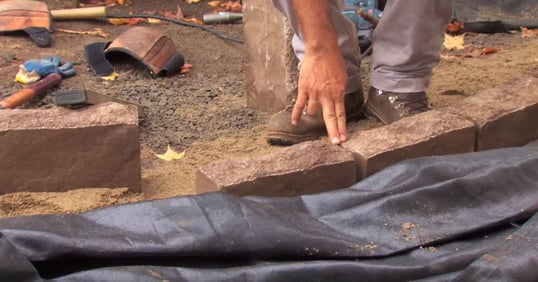
STEP 3: We recommend removing these openings by cutting the blocks to improve the aesthetic aspect of this project.
It’s better to mark the units before to know exactly where to cut.
CHECK OUT OUR  !
!
Leave A Comment