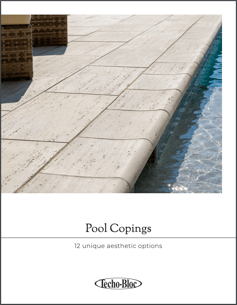
Paver Pete shows the details that go into the installation of a pool coping.
Part 1 : Preparation and adhesion
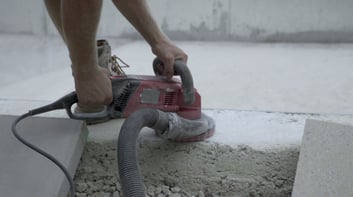
STEP 1 : Grind out imperfections on the surface. We recommend dustless technology to improve efficiency and keep the site clean.
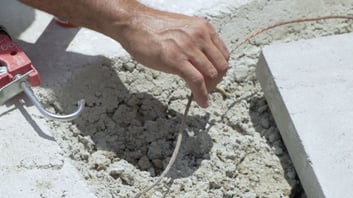
STEP 2: Inspect the copper bonding cables for the pool equipment, the junction box and the plastic steps.
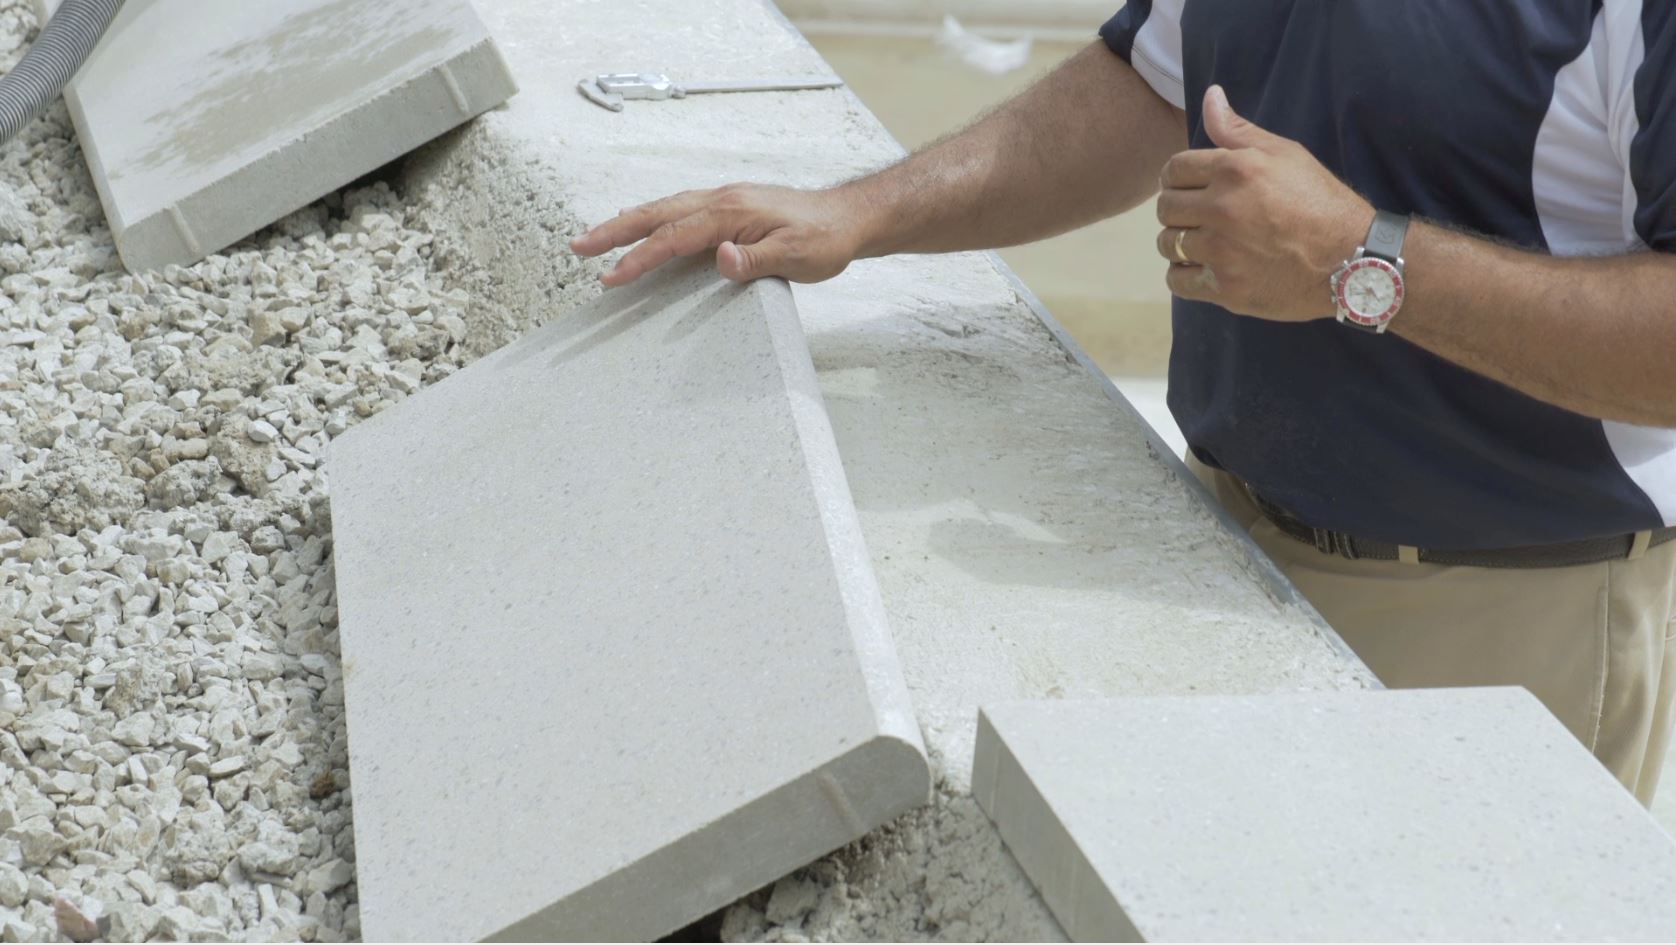
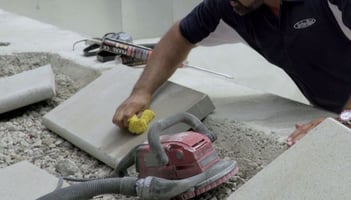
STEP 3: Sponge off the pool surround and the underside of the pool coping to ensure proper adhesion.
STEP 4: Use an adhesive to install the pool coping. See adhesive options below.
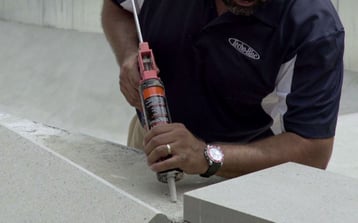
Adhesives options :
- Mortar : Buildable, inflexible and strong but it can cause efflorescence
- Flexlock: Polyurethane-based, fast and hydraulic
Advantages of using the Bullnose Grande by Techo-Bloc :
- Great blend of color with a beautiful polished texture
- Presence of a spacer bar to prevent chipping
Part 2 : Transition joint
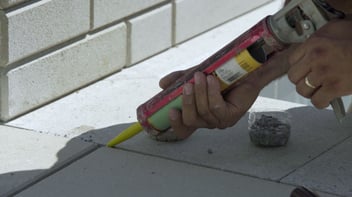
STEP 1 : Insert a foam backer rod into the joints as a filler to reduce the quantity of caulk required in the next step.
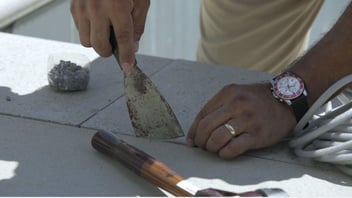
STEP 2 : Apply the self-leveling caulk to seal the joint and make it waterproof.
STEP 3 (OPTIONAL) : Sprinkle the joint fill material over the joint to maintain a consistent appearance for all joints. See joint fill material options below.
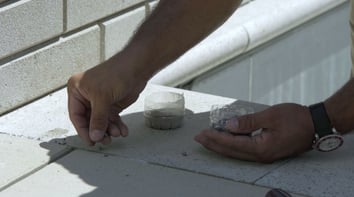
Joint fill material options :
- Polymeric sand : For interlocking concrete pavers and concrete paving slab installs
- Aqua Rock by Alliance : For permeable pavement. This material allows water to flow freely through the joints.
Final result :

DISCOVER MORE POOL COPING OPTIONS!

Leave A Comment