
Don't start digging right away! Create a construction plan first. Evaluating the existing conditions and establishing a plan reduces trucking time, prevents over excavation and controls the quantity of materials.
Grading Plan Review
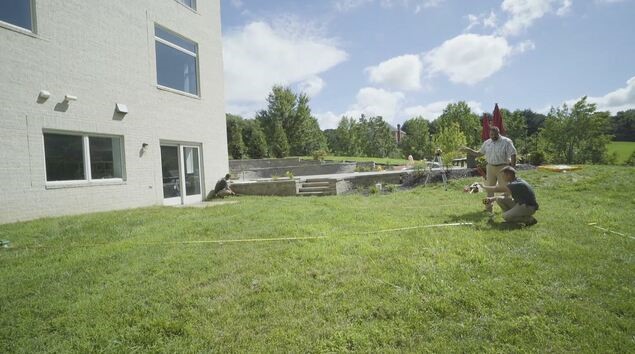
Excavation and grading come hand in hand, specially in this slab installation project where we have multiple elevations to manage.
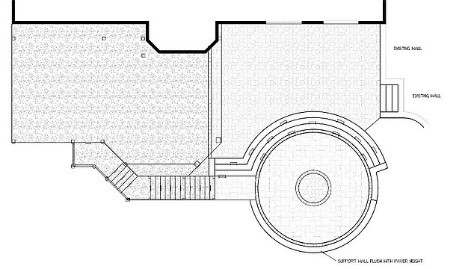
We have a composite wood deck, an upper paver surface, and a lower section that can be reached by going down a set of steps.
The hardscape area will be supported with a retaining wall. To better understand the work required, we divided the project into 3 sections.
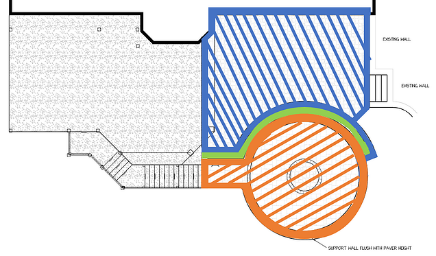
In blue, we have the upper section, in green, the set of steps and in orange, the lower section.
Then, we added measurements to the plan and the position of our stakes.
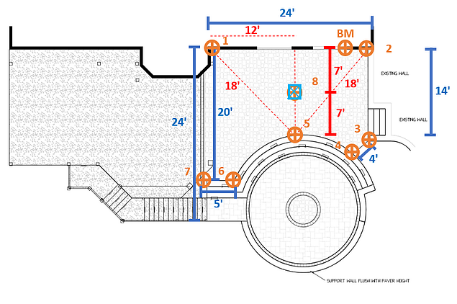
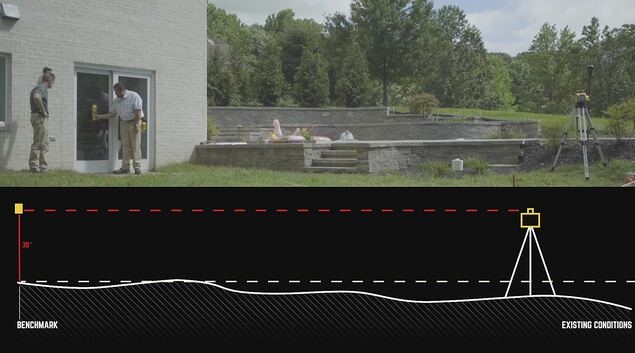
BM represents our benchmark. It’s positioned at the main door and has an elevation of zero because it never moves.
Stake 1 and Stake 2 represent where the pavement is going to reach the foundation wall of the house.
The pavement will be placed half an inch lower than the doorsill since we are in a freeze-thaw susceptible climate with a deep frost line.
We marked the position of the drain as well. The pitch will direct the water to that drain, and eventually out into the environment.
From this drawing, we added measurements to a grading plan.
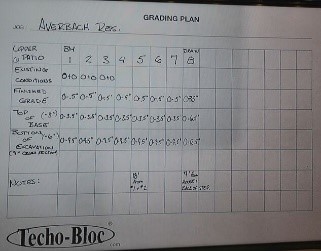
We have the existing conditions, finished grade at 0-0.5, top of base and bottom of excavation.
We also have the drain at stake 8.
The drawing and the grading plan can now be brought to the jobsite and be given to the foreman and their crew. It’s better to laminate the documents, or place them in a transparent plastic sleeve, to prevent any damage.
Now, we are ready to mark out the project and have full visibility over the depth of excavation across all tiers of the project.
Following the construction plan and shooting the grades
We always start with marking all utilities.
Now, the layout needs to be done before we start staking.
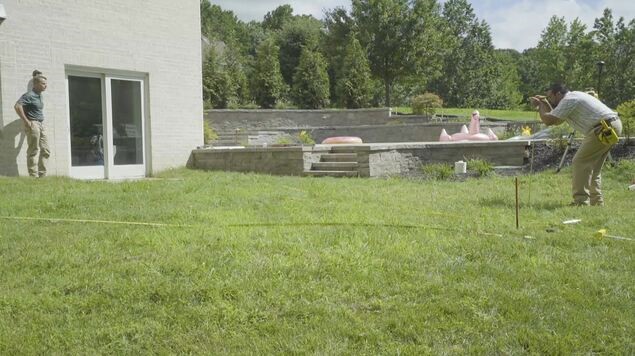
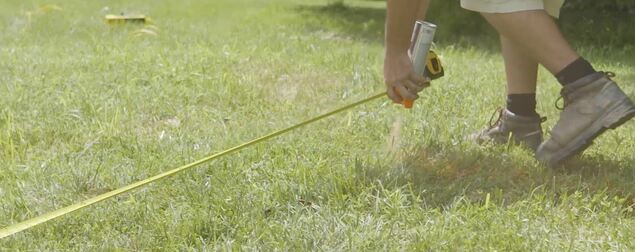
STEP 1: Identify 2 fixed points and triangulate them to find the center point every other point can be measured from.
In this case, this point is at the centre of the lower section, as shown above.
It is at 32 feet from the left point, and 30 feet from the one on the right.
STEP 2: Position a stake where the tape measures cross when aligned with the center point between the left and right positions.
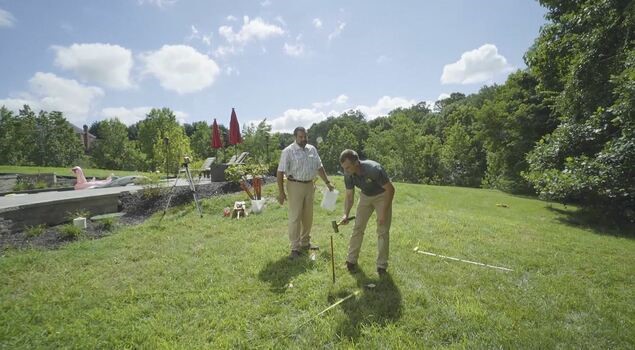
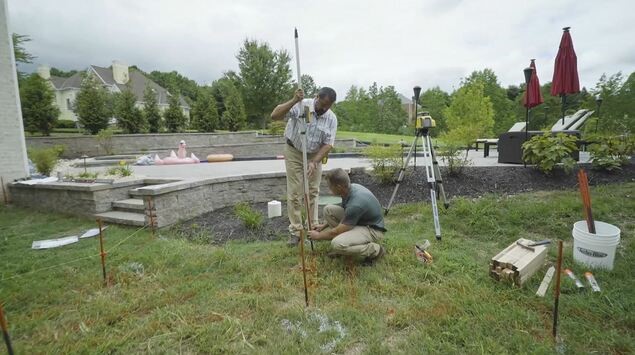
STEP 3: Determine the grades.
Here are tools that can be used for this step:
- Zip level
This tool allows us to figure out from the benchmark how much lower or higher any particular point is. It is very easy to use during a preliminary visit to the client's home and can help to prove to the client what the necessities are. For example, if a wall needs to be built.
Bring it to the benchmark and make sure to set it to zero. Then, you can measure the other elevations from this point.
On this project, when we measured the elevation at the previously determined center point, it indicated 13 inches. This means 13 inches lower than the benchmark.
- Optical transit
Mark a point on a vertical surface at the benchmark location.
Drop a tape measure below the optical transit. Since the tape measure is 4 inches long, we know that 4 inches need to be added to the number the tool will indicate.
Aim the optical transit at the mark. Repeat these steps for all the points and document the measurements.
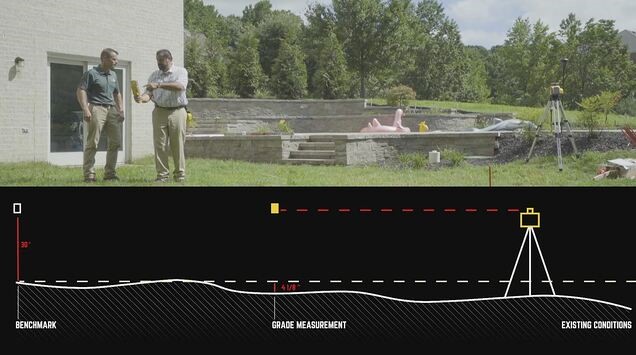
- Laser level
A laser level is the most accurate system.
Set up the tripod.
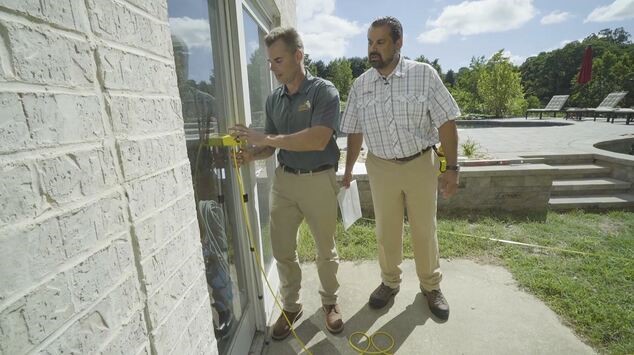
Here, we are using a handheld receiver. Bring the receiver to the benchmark. Power it on and hold down the benchmark button to set the benchmark.
Calculate all the other points.
In this example we got a grade measurement of 4 1/8 inches between the point we reached and the benchmark. This would be indicated on the grading plan as 0" - 4 1/8".
Time to start painting.
Staking Layout
STEP 1: After marking the area with paint, position the stakes according to the plan.
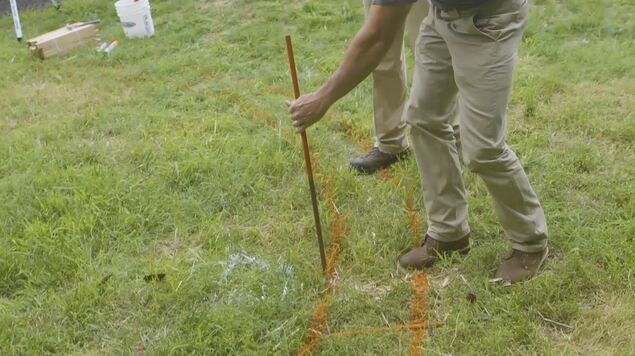
STEP 2: Insert line collars on the stakes. Use a laser level and a stick to measure the correct elevations versus the grading plan.
A handheld unit can also be used for the same purpose.
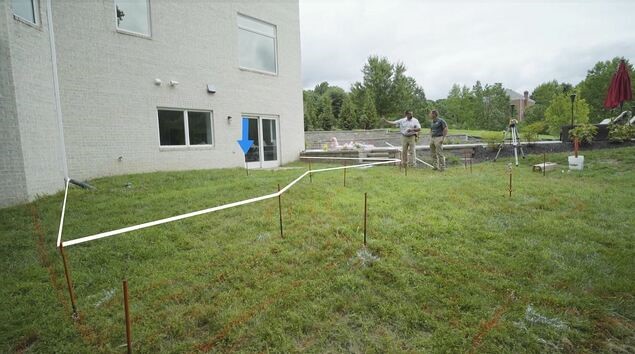
STEP 3: Attach string lines to the collars.
We put them 6 inches above finished grade of pavement, so they are out of our way as we are working. Make sure that a consistent gap between stringline and finished grade is used.
STEP 4: Position a stake where the drain will be constructed.

STEP 5: Ensure that the surrounding area is pitched adequately in toward the drain. ICPI stipulates a minimum 1.5% slope, but 2% is recommended, especially when working with textured pavers or slabs.
In this application, we opted for this drainage approach because we want to avoid sheeting water over the set of steps. Steps are still a retaining wall structure and, as such, need water to be directed away from them.
Still unsure about how to integrate this approach in your business? Check out this clip from our Contractor Showcase event where Paver Pete teaches how to use this simple, but effective tool.
DOWNLOAD THE GRADING PLAN TEMPLATE!

Leave A Comment