
Paver Pete discusses with Jason Faist from In-Lite how lights can be added to pavers. Don't miss out on the final result of the patio at the end!
We previously built an 8.5 feet-tall, contemporary textured G-Force wall and Raffinato steps.
For this project, we also have a cedar decking and our Mista pavers, which has a three-piece random texture in two separate colors, Chestnut Brown and Champlain Grey. All randomly mixed together.
We thought outside of the box and decided to spice things up a bit by adding lights to the Mista pavers.
We chose integrated fixtures that can be easily incorporated into any hardscape application, as well as decks.
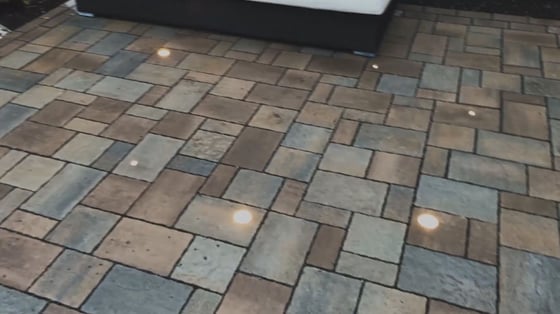
We wanted to create a random contemporary pattern by using lights of different sizes, which gives a starry night feel.
Traditionally, the lights would be inserted into the border, but we wanted something different.
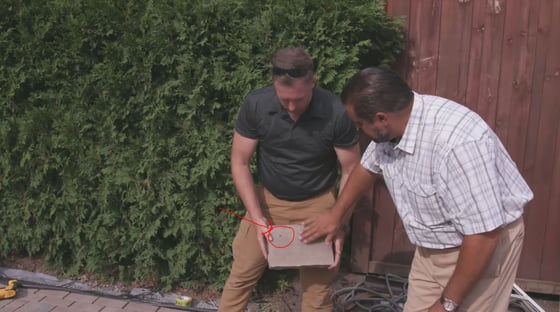
To integrate lights into the pavers, we worked with Jason Faist from In-Lite. Here’s how we did it.
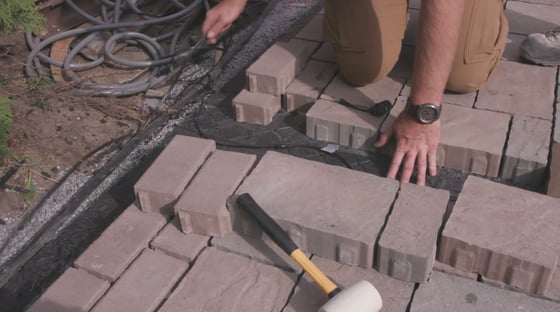
STEP 1: Put a mark on the paver at the location where you want the light to go in.
For this application, we chose a random location, so not necessarily in the centre.
STEP 2: Put on safety glasses. Take a standard hammer drill with a diamond bit and turn the water on. Start on a 45° angle and allow the bit to catch the paver before drilling a hole into the paver.

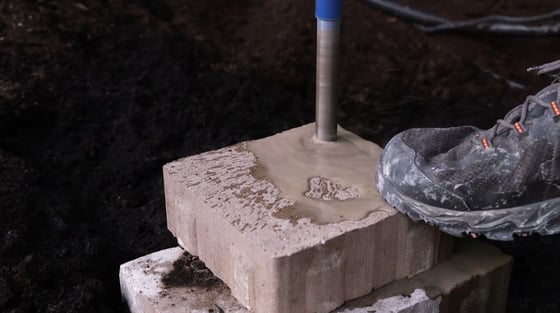
STEP 3: Rinse off all the residue with the hose to make sure you have a nice and clean surface.
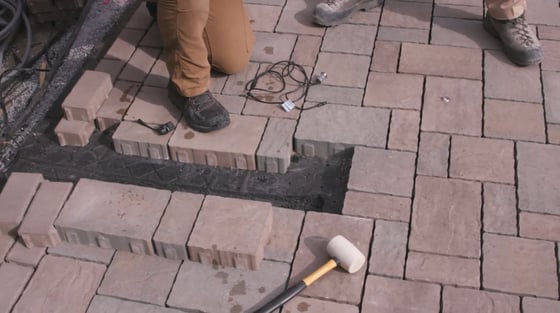
STEP 4: Create a channel for the wire.
Typically, the wiring would be run into the bedding layer. However, since we installed a Gator Base from Alliance underneath the pavers, we had to cut a part of it with a knife to obtain a channel.
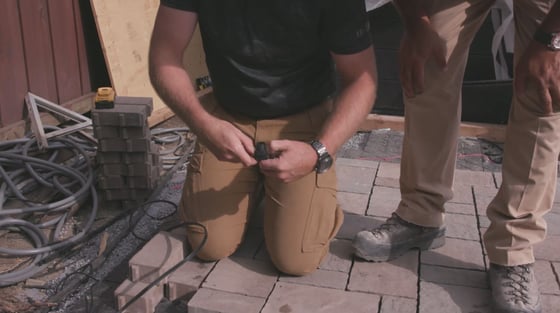
We chose to integrate ground lights from In-Lite. These small integrated fixtures have a diameter of 7/8 inch (22 mm), which is the same as the bit from the hammer drill.
The ribs on the side allow the light to sit firmly in place. No silicone or adhesive is needed.
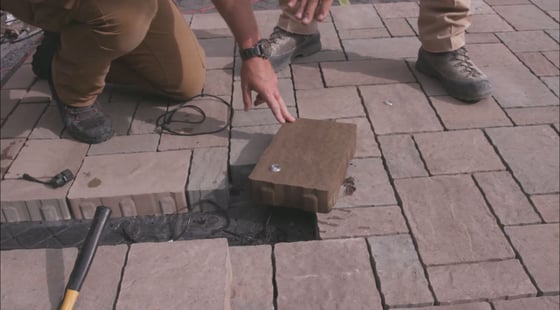
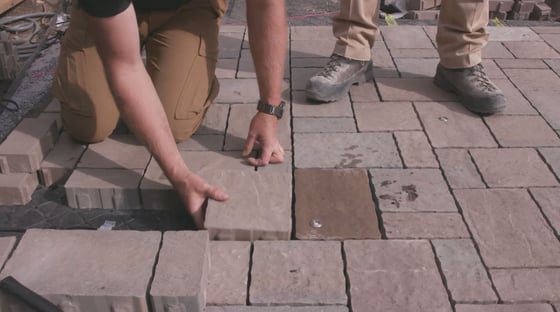
STEP 5: Feed the wire through the hole you made in the paver.
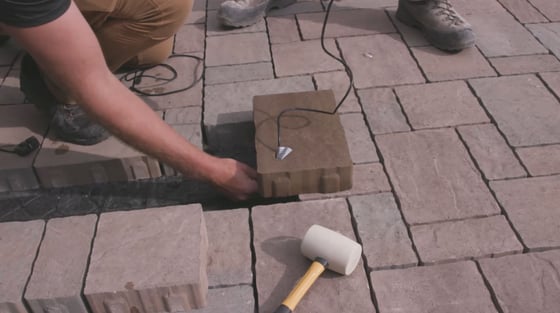
STEP 6: Tap the light lightly with a rubber mallet until it’s fully inserted into the paver.
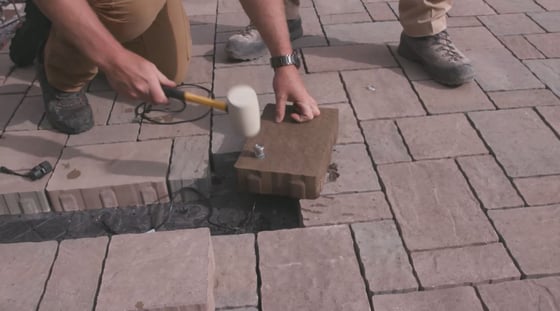
These fixtures are very durable. They can even be driven on and snowplowed over.
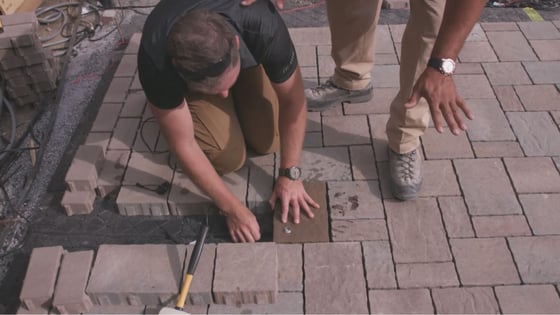
STEP 7: Set the paver in and run the wire through the channel or bedding layer.
STEP 8 (OPTIONAL): Add an extender.
We had to add an extender because we wanted our connection to be outside the pavers, making it easily accessible.This optional piece comes in various lengths.
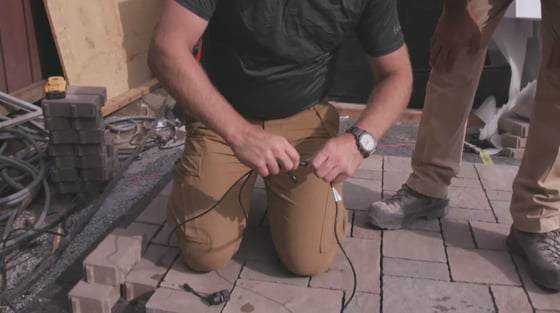
A single prong will allow the wires to connect together. The connection is strong enough to resist water.
The lights require low voltage running off a transformer.
The small ones need a 1/4 watt, the larger ones only one watt. It uses very minimal power.
STEP 9: Run the main line of cable to the transformer.
The connector for the main line is equipped with two epoxy-filled prongs.
They create a tight water seal.
STEP 10: Place the wire guide on top of the cable and set the connector. Twist it on until you hear a click.
A channel was designed in the connector to show you where the wires can be lined up perfectly.
STEP 11: Place the paving stones over the cable.
STEP 12: Bury the wires outside in the landscape.
Final result:
READY FOR THE NEXT STEP? BECOME ONE OF OUR PRE-SELECTED PARTNERS NOW!

Leave A Comment