Newsletters are an easy and cost-effective way to generate leads. They allow you to stay top-of-mind for your clients and establish yourself as a credible and available resource in the industry. Did you know that 81% of small businesses rely on email as their primary customer acquisition channel? In an age where everyone is bombarded with emails from various sources, how do you create a standout email that your contact list will want to read from top to bottom? In this article, we’re walking you through a step-by-step guide to creating an enticing newsletter that your clients will look forward to reading.

Step 1: What's your common thread?
Before brainstorming themes for your newsletters, it’s important to be aware of your goal for creating them. They need to fit into a larger content strategy. Is this campaign designed to help generate leads? Gain credibility? Send traffic to your website? Establish the main goal and let your ideas flow from it.
Many newsletters appear cluttered, stocked with random information that have no common thread. It is crucial that your email, and the content in it, be centered around a common theme. Instead of the theme being your company in general, think of dedicating it to one vertical. For example, one month’s newsletter can be centered around how to create a host-worthy exterior. The content would then reflect that central theme. You could talk about outdoor features, a host checklist, etc. Get creative!
Step 2: Gather your content
Once the goal of the newsletter is established, you’ll need to find content for it. We suggest mapping out your newsletter campaign as far as you can so you can be prepared. We all know how busy the season can get, so if your content is ready to go, that’ll be one less thing you’ll need to think about during high season! The best option would be to prepare content for each newsletter ahead of time, while keeping some space available for information you may want to add along the way. Sometimes we stumble upon interesting content or circumstances arise that inspire it. Keep that in mind when planning future emails. A good trick is to bookmark links each month that you want to add to your upcoming newsletter. Thinking ahead is key!
Step 3: Educational to Promotional ratio
If you’ve ever received a newsletter, then you know that most of them are purely promotional. Nothing will make you delete an email quicker than one of those. Email newsletter subscribers don’t want to hear about your business and services 100% of the time. Chances are, they’ve subscribed to your newsletter because something is in it for them! Either they value the content you deliver or you’re offering them something they can’t get anywhere else. Don’t let them down! Get rid of self-promotion and focus on sending your contact list educational, relevant, timely information pertaining to landscape design. Unless you have exciting news about your company that you believe is relevant to your clients, leave out the promotional content.

Step 4: Create attention-grabbing email subject lines.
Even if your contact list subscribes to your newsletters, there’s no guarantee they will open them once they receive them. Your subject line is your first chance to make a first impression and to grab your client’s attention. Make the most of it! We believe that the way to go is to create different, creative and engaging subject lines for each newsletter you send. Keep in mind that your lines should be short and to the point. For example, you could entice them with a title like 'The top 5 outdoor trends you don't want to miss this year'. A subject line like this one creates excitement and demonstrates that the email is relevant to them. Try infusing some humour into your copy. It’ll surely make you stand out from other emails if you’re able to put a smile on your recipient’s face or make them chuckle. Show your distinct personality!
Step 5: Select a primary call-to-action
Ideally, each block of content would have a CTA button that would drive your recipients to your website or to a service. However, we suggest you establish one main CTA that is the goal of your newsletter. What do you want them to do after reading your email? Make that your primary call-to-action. The rest of the CTAs should be secondary. Whether it’s reading a blog post, requesting a quote or forwarding to a friend, make sure your subscribers know exactly what you want them to do. A CTA button is a clickable feature that your recipients will use after reading a text. For example, if your content block talks about outdoor features, your CTA would be 'Discover our outdoor features today'. Your clients would then click on it and be redirected to the 'outdoor feature' page of your website.
Step 6: The template is key to a successful newsletter
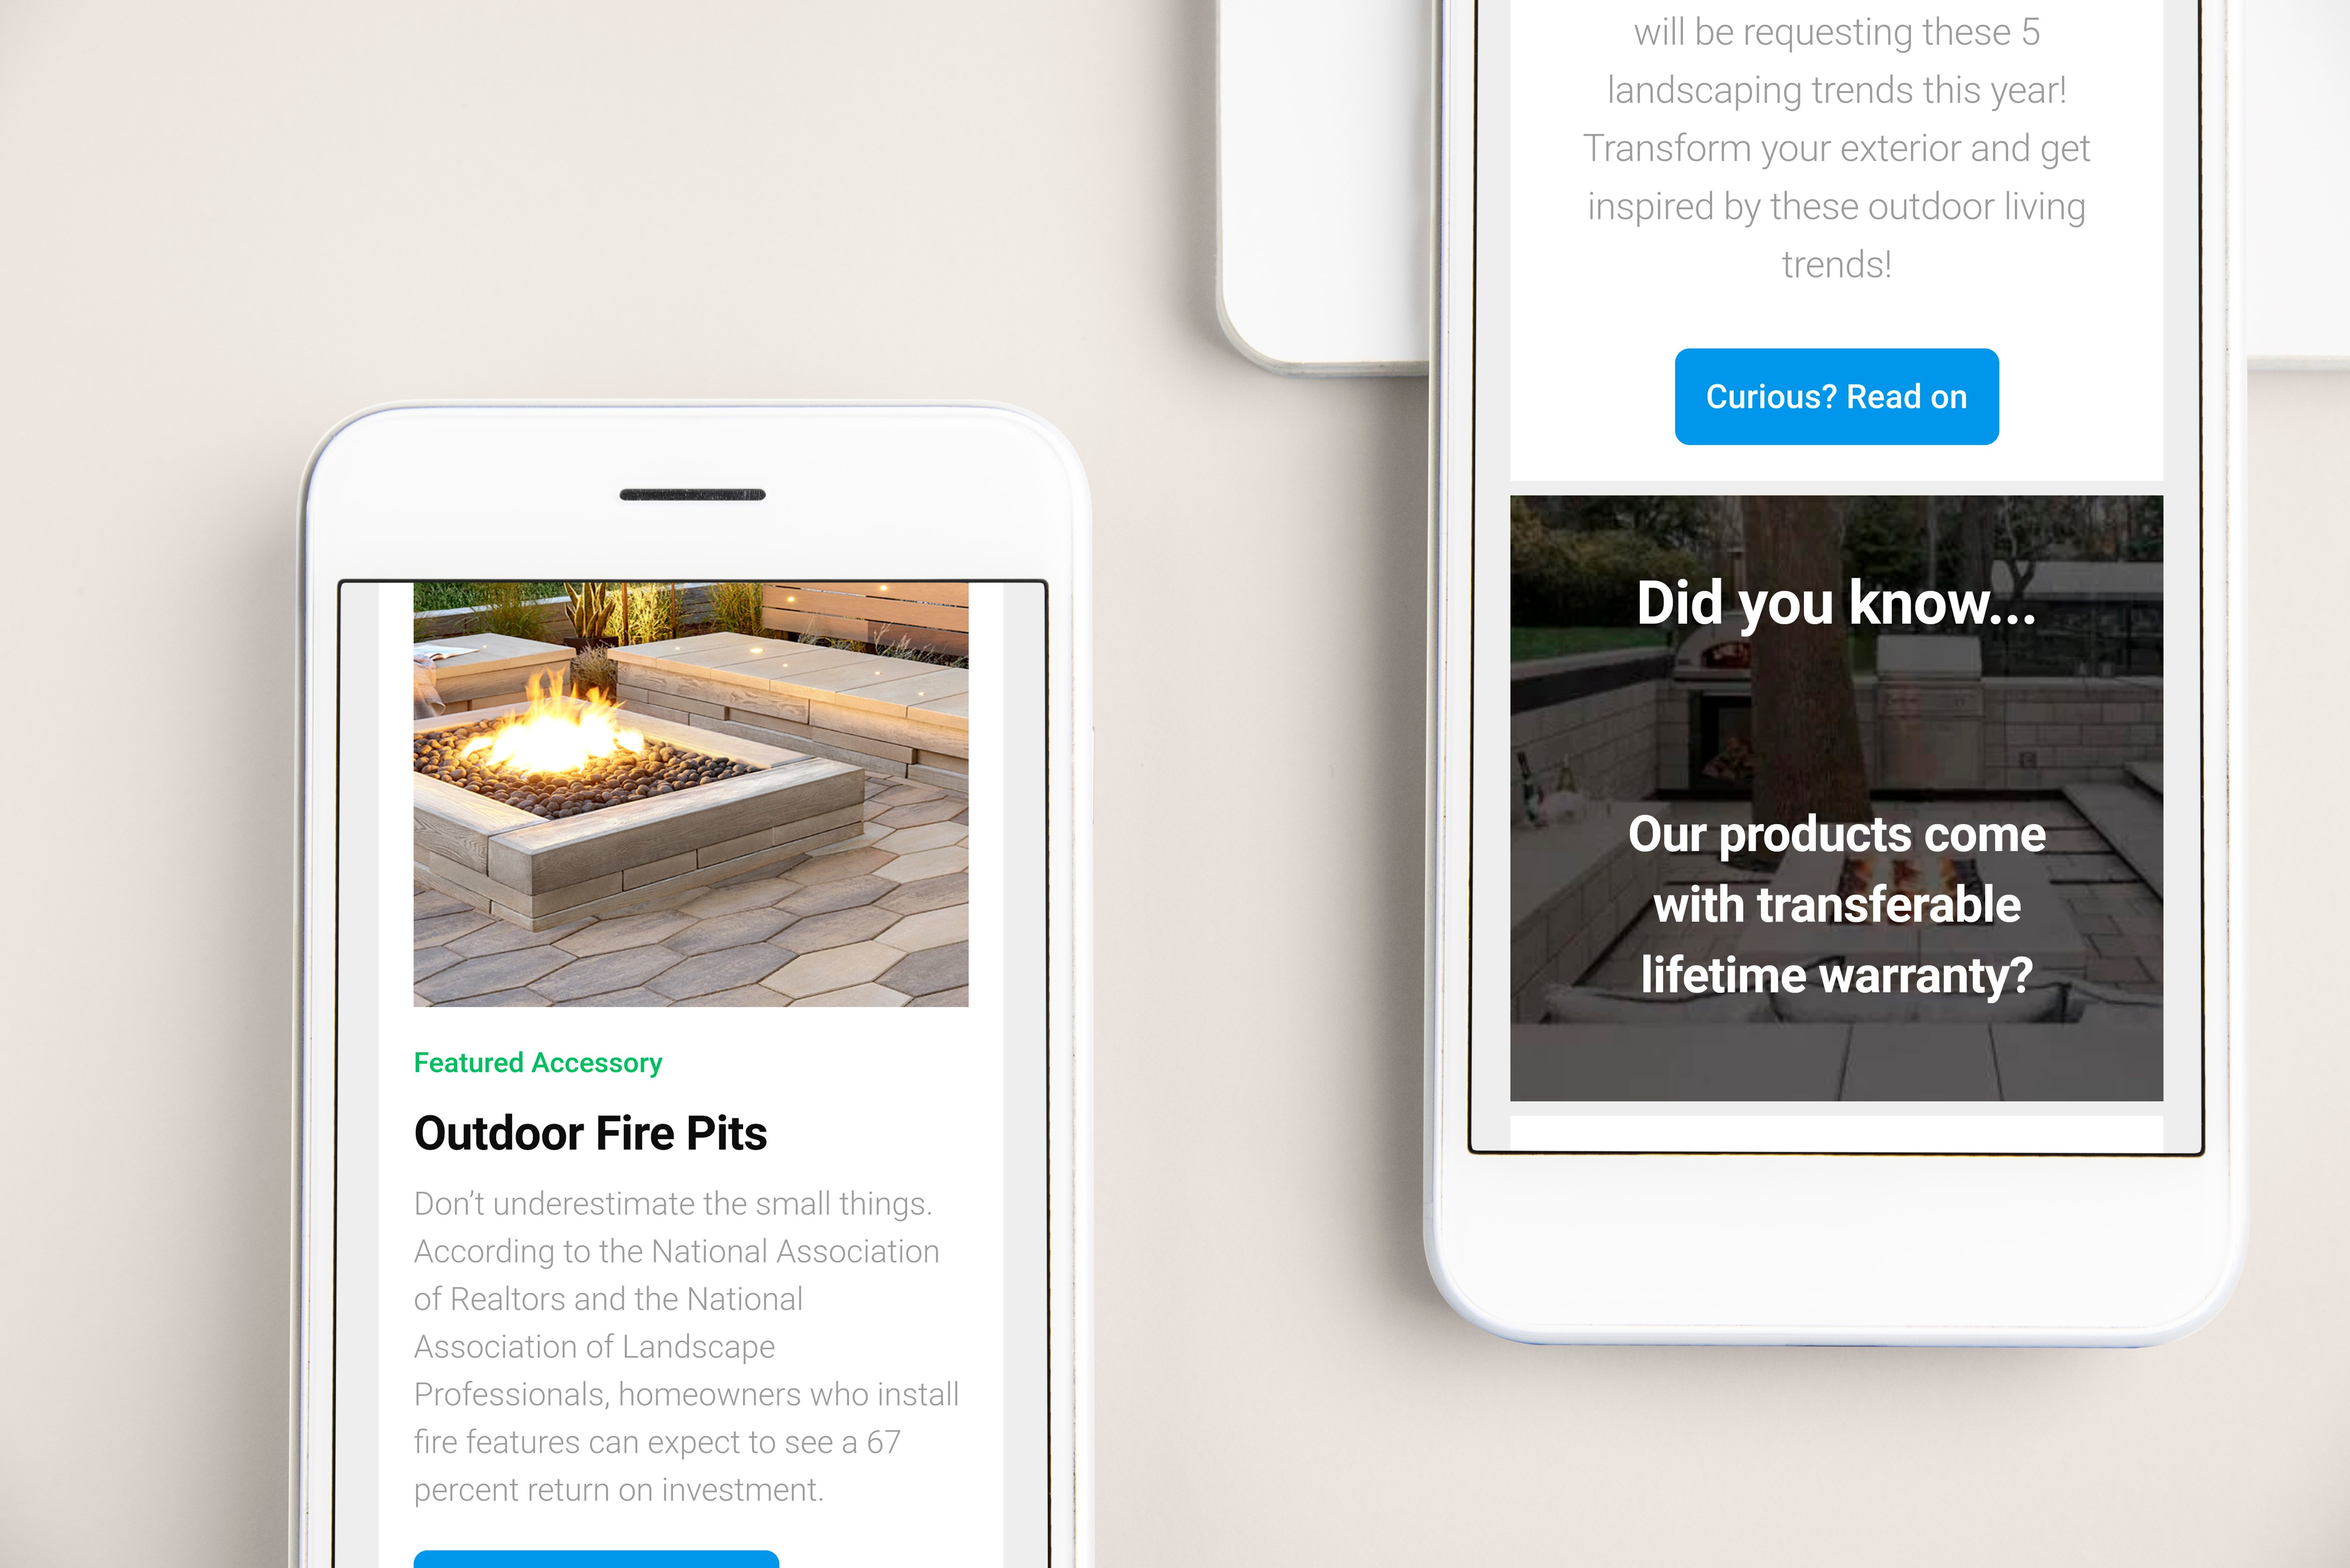
The key to a successful email is simplicity. Cluttered newsletters don’t get read and aren’t effective. The trick to a simple template is: concise copy and enough white space in the design. According to a 2018 study by Microsoft, the average attention span of a human being is 8 seconds. Therefore, you need to get to the point quickly and effectively. Concise copy gives your subscribers a taste of your content. If they want more, that’s what the call-to-actions are for. Send them to your website or blog for the whole piece of content. Just give enough for them to want to click and learn more. As for the design of the template, white space is key. This helps visually alleviate the cluttered feel of the content and on mobile, makes it much easier for people to click the right link. According to data from Litmus, 46% of subscribers open their email on a mobile device – nearly 30% higher than email opens on desktop. Therefore, centering your template around making it easy to read, scan and lick elements of the email, is key to a successful newsletter.
Step 7: Images: to include or not?
It seems natural to want to include images in your newsletters as a tool to entice and engage your subscribers. Especially in our industry where images showcase gorgeous landscapes and outdoor projects that we're proud of. However, adding images in emails can be a little tricky. In fact, most of the time, recipients won’t have images enabled, leaving an empty content block in the middle of your newsletter and ruining your template. This is why, if you do use images, it is important to include alt text to your emails. Essentially, alt text is the alternative text that appears when images aren’t loaded in an email. This is especially important if your call-to-actions are images. In that case, writing an alt text allows your subscribers to know what action you want them to take next. For those of you who don’t know how to add alt text to your emails, here is a tutorial!
Step 8: Personalize your email
The best email newsletters are the ones that feel like they’ve been personally crafted for the recipient. Everyone likes to feel exclusive, like they’ve been thought of. Try to keep that in mind when creating your newsletters. Choosing content that your target audience will love is part of that. Make sure you segment your emails and choose the appropriate content for your target audience. Adding personalized tokens are also an effective marketing tool that make a big difference for your conversion rates. Signing off an email can also make a difference. Showing that you’re taking time to write them a personal, informative email can make your recipients feel special. The key here is offering a service that feels exclusive and personal that will differentiate you from the competition.
Step 9: Give your subscribers an out.
This may sound counter-intuitive at first, but as a common curtesy, you should offer your recipients an unsubscribe option. This ensures you keep a quality, engaged contact list that is genuinely interested in your content, and prevents you from being marked SPAM before it even enters your list’s inbox. Follow this step by step guide to creating an unsubscribe option for your emails.
Step 10: Test again and again
Once you’ve created your email, it’s important to test out how it’ll be received by your contact list. Whether it be on a desktop or mobile device, or on Safari or Google Chrome, your email will be opened many different ways. That is why it is crucial you test it out to see how it shows on different devices and platforms. Send out some emails to yourself and your team and make a checklist of every platform and device that you’ve tested. Make adjustments when necessary. Also, asking others to help test your newsletter allows you to locate any typos that may have occurred during the content writing of your email. Proofread again and again to make sure you fix any error left behind. The more professional the email, the most credible you become.
Step 11: Analyze: What worked and what didn’t
Once the newsletter is sent out, you wait. A few days later is when you open your dashboard to analyze the data. Firstly, verify how the newsletter performed on the goals you set in step 1. Is there an increase in traffic on your website? In lead-generations? Is there a high number of unsubscribe clicks? What’s your open rate? This data will help you adjust if necessary when creating your following newsletters. Remember, you have to be willing to adapt to your contact list’s need in order to host a successful newsletter. Always think in terms of what they want and need.
For some inspiration, check out these newsletter examples provided by Hubspot!
Our Techo-Pros benefit from personalized artwork, dedicated pages on our website, financing options and much more! This is the next step to grow your business.