
Paver Pete presents all the steps required to construct a heated walkway.
Project overview
Project planning for the installation of a Techo-Bloc walkway, stoop and step overlay. This project will also include the addition of a heating element.
2 options were presented to the homeowner:
- Remove existing concrete walkway, increase the width to have a more comfortable entrance and add a greeting circle.
- Overlay existing concrete but add a heating element
This family wants their walkway to be snow free and safe during the winter, so they chose option 2.
Correcting Concrete Imperfections
Preparing for the overlay construction by correcting imperfections in the existing concrete.
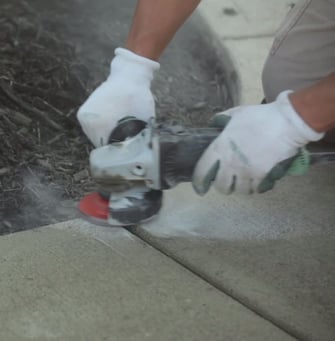
Verify the existing concrete slab for imperfections that could have been formed during the pour.
They can be fixed by using a grinding tool.
Applying Adhesive to Secure Perimeter
Apply Flexlock Ultra adhesive (http://www.flex-lock.com/) to the walkway. The product will expand into pores and is flexible in freeze/thaw environments.
Here are the benefits of this product:
- Only 2 strips per paver are required to hold back the walkway
- 100% pure polyurethane, so it provides twice the strength of a regular adhesive
- Hydraulic, so it expands into the pores of the concrete
- Can be used on a damp surface, but not wet. Don’t want ponding or pooling water
- Good freeze-thaw performance because it remains flexible
- 24 hour cure time, but half a cure only takes 8 hours.
Connecting the Walkway and the Driveway
Here’s how to connect a walkway to a driveway when both are at the same grade, but only the walkway is being overlaid. We will need to go from an inflexible concrete path to a flexible aggregate base.
STEP 1: Remove a section of the concrete walkway.
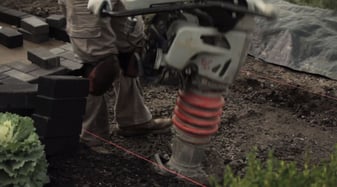
STEP 2: Compact the soil subgrade (here we used a jumping jack because of the space and soil type). This is a clay soil and we need to integrate clean stone to create a gradation amendment. This is done by integrating a larger, more angular particle into a soil composed of mostly smaller and less angular particles. This amendment stabilizes and strengthens the subgrade, making is ready to support our base.
STEP 4 (OPTIONAL): Bind it with a cementitious material for additional stability.
STEP 5: Staple and lay geotextile fabric to be able to begin the base.
STEP 6: Add a PVC sleeve to facilitate future irrigation installation.

Flexible Aggregate Base
Installation of the base to transition from the walkway to the driveway.
STEP 1: Compact soil to 98% standard proctor density.
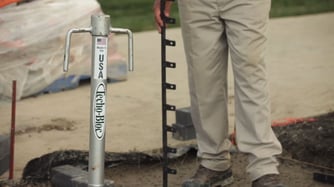
In order to verify the density, we used a calibrated dynamic cone penetrometer: 10 drops resulted in ¾ inch penetration.
STEP 2: Install Gator Edge from Alliance down both sides that will guide the stringer or sailor course along the edges.
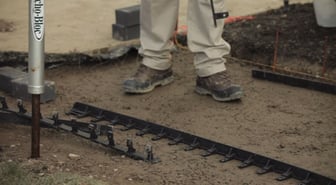
STEP 3: Drive in an 8-inch non-galvanized spike every 8 inches to maintain the edge in place.
STEP 4: Install a geotextile fabric. (When installing heating element)
STEP 5: Because of the heating element, add 1inch layer of sand that is to be precompacted, the heating element and add more sand on top.
Installation of a Warm Zone heating system
Preparing to install a Warm Zone heating element on the paver walkway, step and stoop.
STEP 1: Compact a half inch of washed concrete sand bedding layer and screed it afterwards.
STEP 2: Add a non woven geotextile that will extend up the sides of the sailor course to prevent migration.
Overview of the heating system
Increase winter safety by adding a heating element to a paver walkway. See our most effective tips and tricks to avoid ice and snow build up with a Warm Zone heating element.
Benefits of the Warm Zone heating element:
- Same system for the step and stoop with 2 separate cables tied in the same system
- Cost effective. Customers think it will be expensive because it is electric heating but this system has an automatic snow switch that limits operation costs to snow events. If it snows for an hour, it will run for an hour.
- Possible manual override. Homeowners can set the time or turn it off.
- Dry option: Snow will hit and eventually evaporates so there will be no accumulation. So, there won’t be massive runoff and no shovelling.
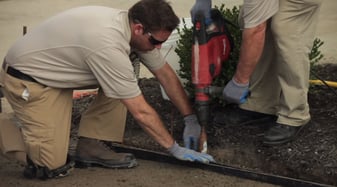
STEP 1: Roll heating element out on the walkway.
STEP 2: Secure it to the bedding layer by anchoring it to the base. Choose a nail of appropriate size (preferably with large washers) to hold it in place while we put an half inch of sand and tamp it down.
Benefits of the sensor:
- Cost effective. Picks up on snow conditions and turns on only when it’s snowing. Around 80 cents / hour to heat the stoop, step and walkway. Average snow event in this area lasts 3-4 hours, so 3-4$ per storm.
- No maintenance, as long as it’s installed by a licensed electrician
- Possible manual override with switch on the side, or using an auxiliary unit inside the house
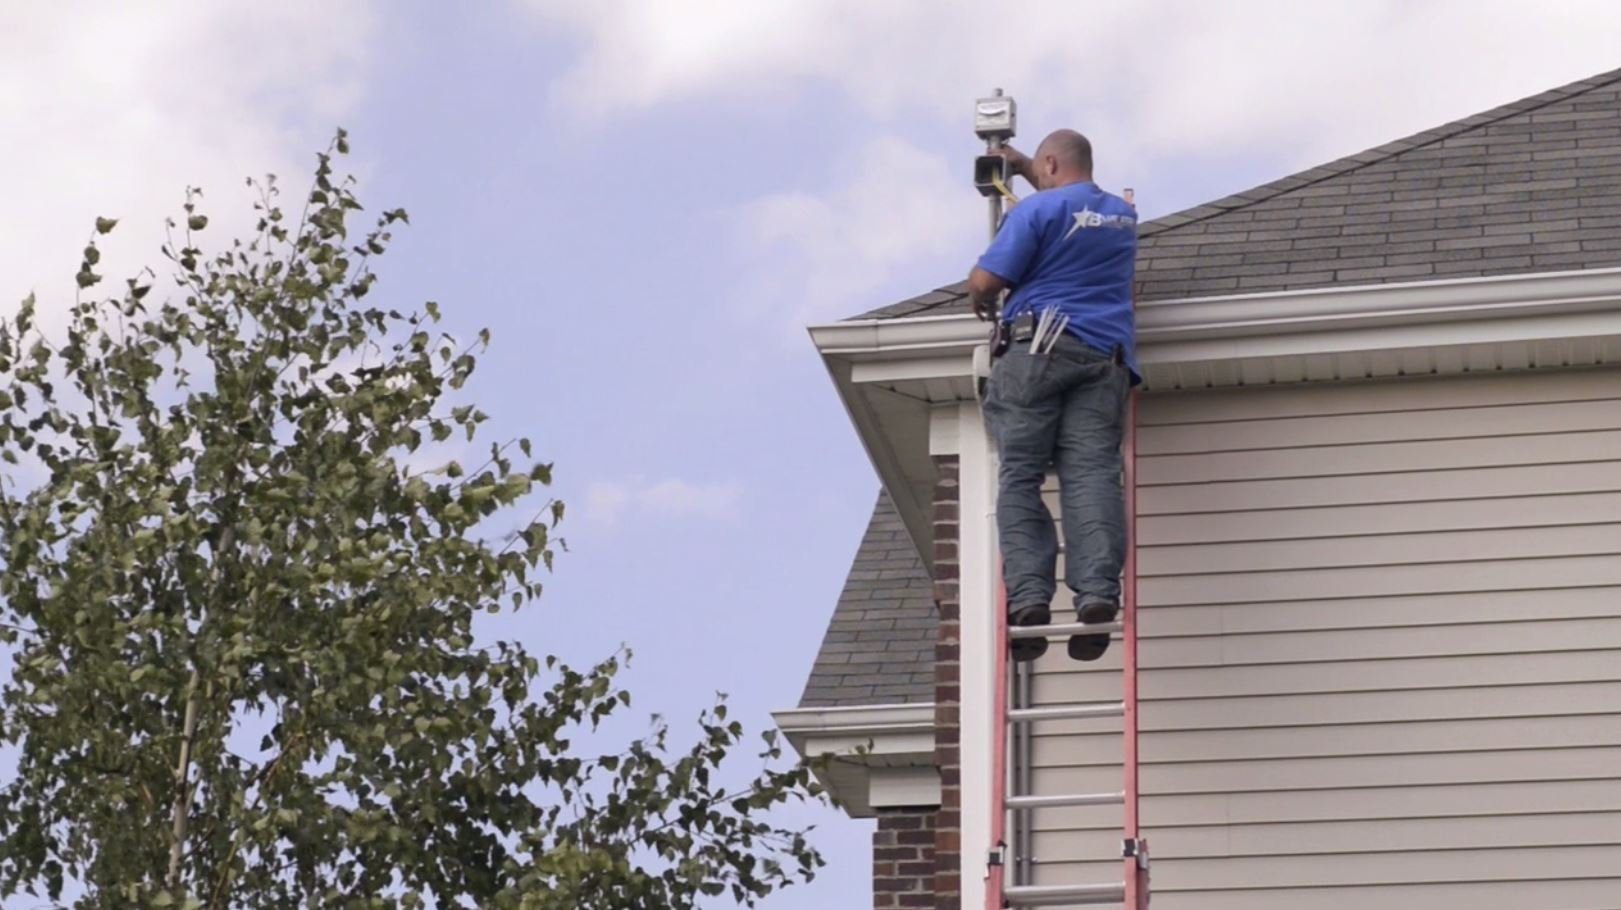
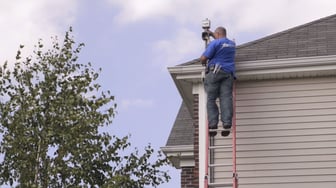
STEP 3: Construct a galvanized steel frame to get the sensor above the roof line. It gives integrity and sturdiness to the conduits.
STEP 4: Mount the sensor 10 inches above the roof. It’s better to hide it behind trees to protect it from the environment as well as making it more aesthetic, but the units are weatherproof.
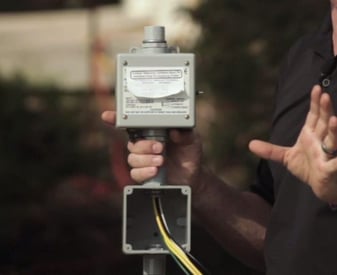
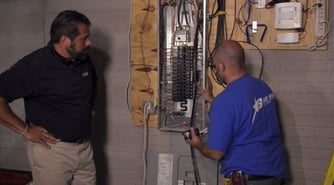
STEP 5: Power circuit for the warm zone by connecting a cable to the breaker panel of the house (Hire an electrician). The connection runs from the junction box to the heating system outside.
It is required to have GFEP (ground fault equipment protection). It is different from a standard GFCI and operates at 30 milliamps to prevent nuisance tripping.
For larger applications, we recommend a contactor panel from Warm Zone.
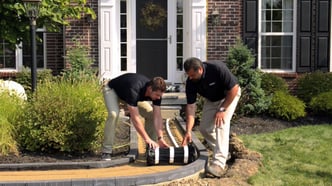
Final touches
The heated walkway and stoop overlay are complete. Watch as the final touches make this the ideal project for homes in freeze-thaw climates.
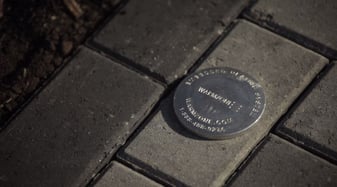
STEP 1: Install Warm Zone placard because it is required by the code.
STEP 2: Sweep polymeric sand in (we used the Flexlock Ultra). It is specifically designed for overlays.
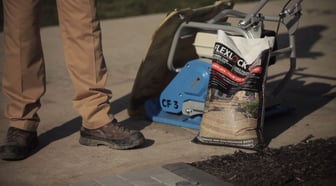
STEP 3: Consolidate the sand into the joints using a 4000 to 5000 pounds centrifugal force rated vibratory plate. Use a polymer pad below it to prevent scuffing.
Timelapse
All elements of the heated walkway come together in this timelapse video.
BENEFIT FROM A VAST ARRAY OF TOOLS TODAY!
