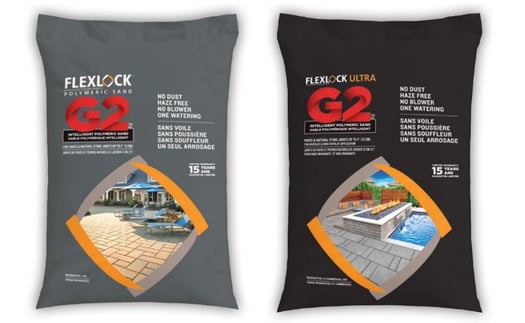
Flex Lock by Alliance Designer Products has launched a new type of intelligent polymeric sand. The new formula is dust free, haze free, doesn’t require the use of a leaf blower and only needs to be watered once. The result? Polymeric sand installation time is cut almost in half! We like it because it will help wrap up a job sooner and prevent call backs.
Installation for a new paver surface
This sand is recommended for a variety of uses including pool decks, patios, footpaths, driveways, parking spaces, pavements, etc.
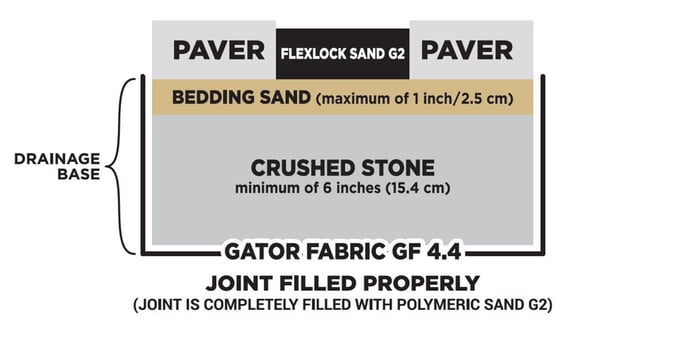
To ensure long term performance of the polymeric sand, the concrete pavers must be installed on a setting bed with drainage ability, as recommended by the Tech Spec #2 from ICPI.
Both Techo-Bloc and the Interlocking Concrete Pavement Institute (https://www.icpi.org/) recommend the use of ASTM C33 (CSA A23.1 in Canada) bedding sand. This material is also known as washed concrete sand. It contains a very low percentage of fines and, as such, permits drainage and flow of any water that seeps in below the pavement surface out of the system, keeping the joints dry.

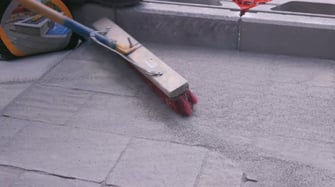
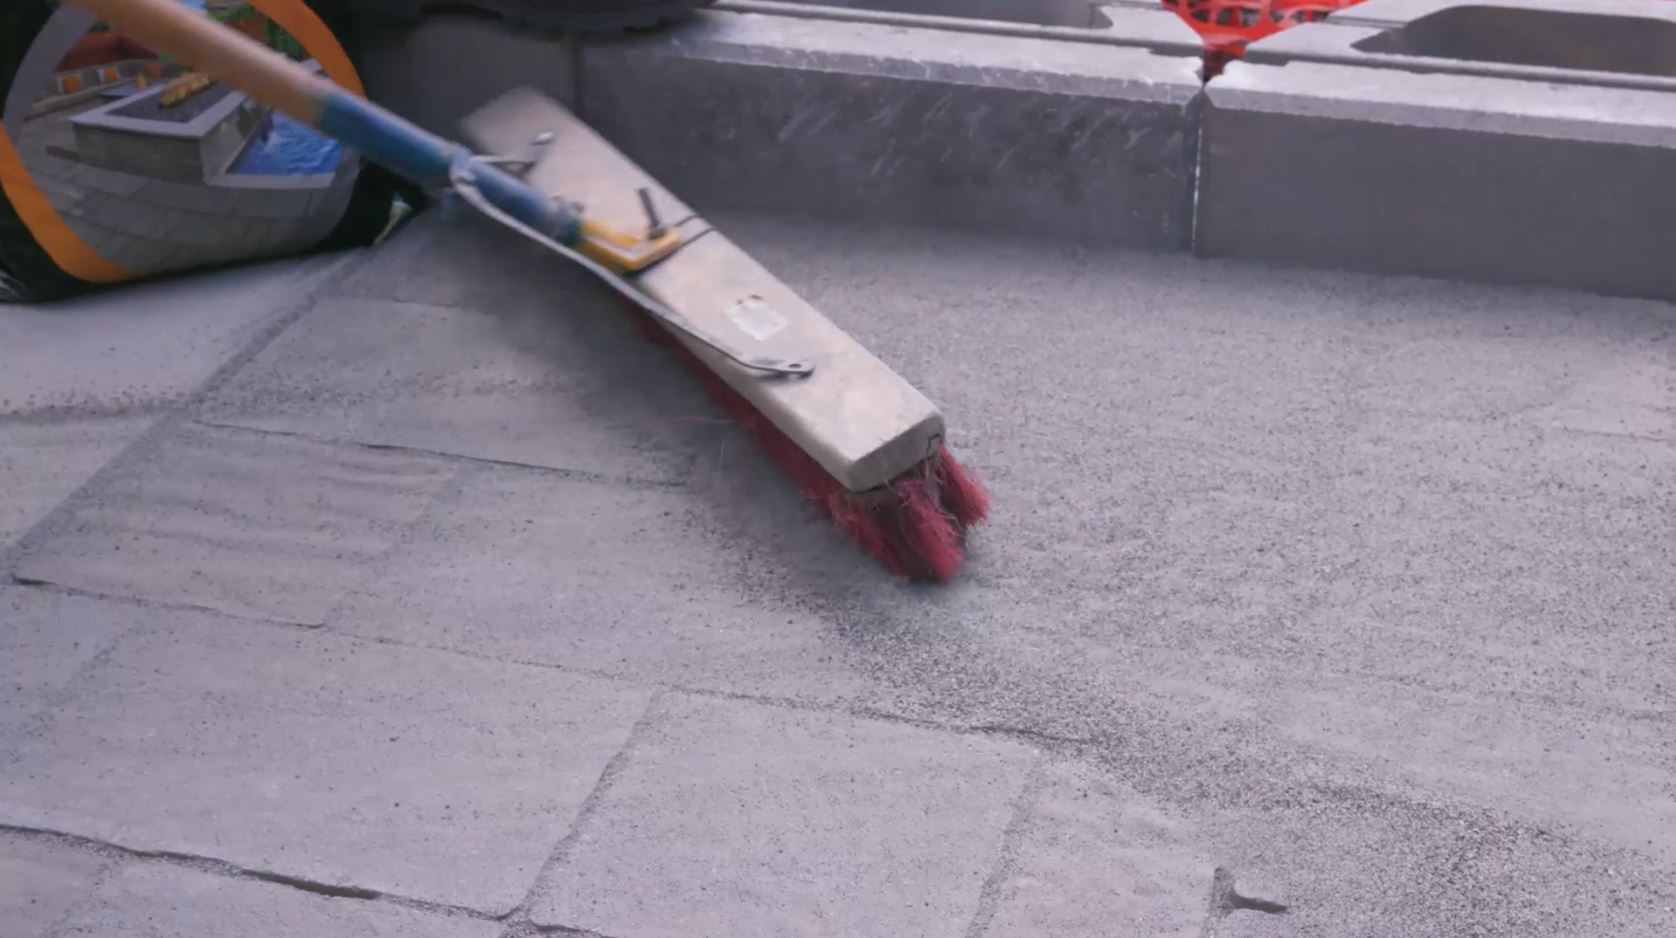
STEP 1: Pour the sand and use a hard-bristle broom to spread it. The joint fill should be entirely one material. Other materials should not be added to the joints.
To facilitate the next step, vibration and consolidation, a fine layer of sand can remain on the surface.

STEP 2: Use a vibratory plate compactor to seat the pavers into the setting bed. The vibratory action is important as it will also consolidate the joint fill, increasing its density and ensuring the polymeric sand’s performance. Consolidation of the joint fill is an essential step.
To protect the paver surface from scuffing or marring, a rubber or polyurethane mat that attaches to the plate compactor is recommended. You could also use other materials such as ½” plywood or remnant carpeting.
Roller compactor machines or attachments are a fantastic option for this step as well.
Roller compactors can sometimes work well in slab installations as well. Consult our Techo-Spec guide to learn more about the differences between paver and slab installation.
Fill the joints up to 1/8 inch (3 mm) below the edge or chamfer. It is best to compact in several directions to avoid air gaps or voids in the joints. Our recommendation is a series of concentric circles beginning at the pavement’s edge, working your way inward to the center to “pinch” the units in on each other. Afterward, a “north-south” and “east-west” will unsure uniform compaction and consolidation.
STEP 3: Sweep off excess sand from the surface, first with a hard-bristle broom, then a soft-bristle broom. The combination of two brooms assists in removing all particle sizes from the surface.
STEP 4: Activate the sand by showering 50 sq. ft. (4.5 sq. m.) section for 1 minute, starting at the lowest grade point. Once all the sections are activated, rinse off any debris.
***UPDATE*** If you're planning on working with the new Flex Lock G2 with Rapid Set Technology, then you'll need to activate the sand by showering 30 sq. ft. (2.8 sq. m.) section for 30 seconds, starting at the lowest grade point. Once all the sections are activated, rinse off any debris.
Installation for an existing paver surface
STEP 1: If the sand is replacing existing jointing materials, clean out old jointing materials from the joints.
STEP 2: After the surface is completely dry, install the sand. The bedding material under the pavers must not be disturbed.
STEP 3: Follow installation steps 1 to 4 for a new paver surface mentioned above.

To learn more about G2 Intelligent Polymeric Sands, as well as the entire line of cleaners, sealers, adhesives, geotechnical fabrics and grids, go to http://www.flex-lock.com/
FIND YOUR LOCAL TECHO-BLOC AND FLEX-LOCK PRODUCTS DEALER NOW!


