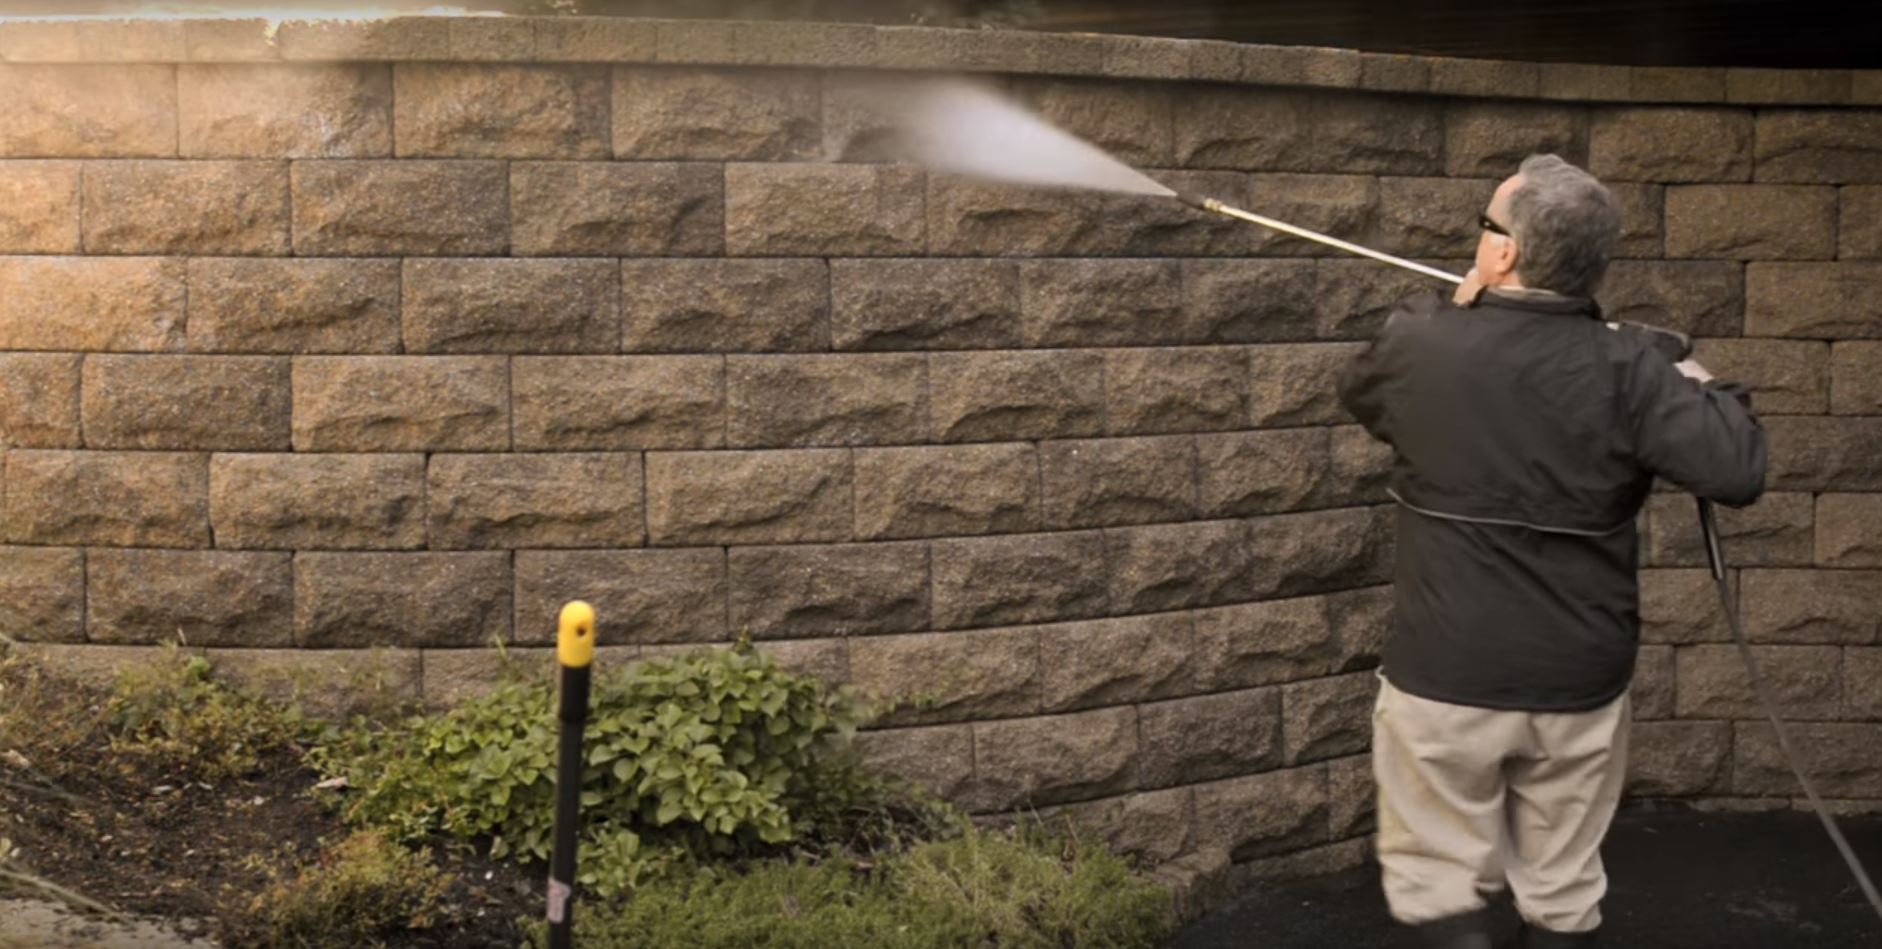
An explanation and demonstration on how to clean and seal a retaining wall.
This project is a couple of tiered walls and a taller one we built a couple of years ago.
We called the homeowners and asked them if we could come back and assess the performance of these structures.
Everything was exactly the way we had designed and built it.
However, there was a little bit of efflorescence caused by heavy rains and a little bit of moss and mold built up on the cap.
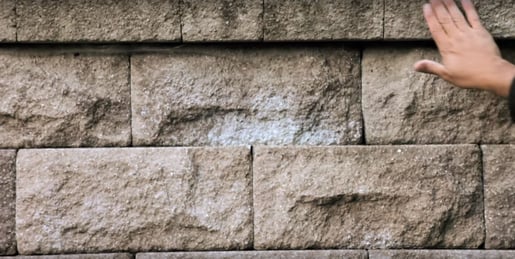
We asked the homeowners if they would like us to clean and seal the wall for them, and they didn't even know that it was an option.
Here are steps you can follow to clean and seal a segmental retaining wall.
STEP 1:
Wet the wall down. Be careful not to supersaturate it.
STEP 2:
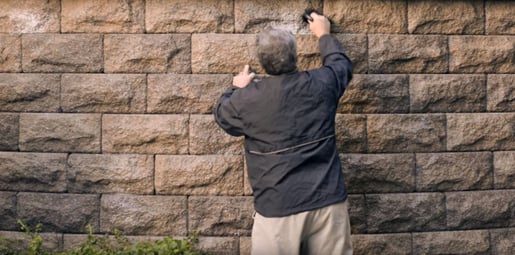
Dilute first, then apply an efflorescence cleaner.
Let the cleaner do the work.
Some brushes can be used for stubborn stains.
Always start with a nylon bristle brush since it is the least intrusive.
Then, you could move on to brass bristles and finally steel bristles, just for the stains that won’t come out.
STEP 3:
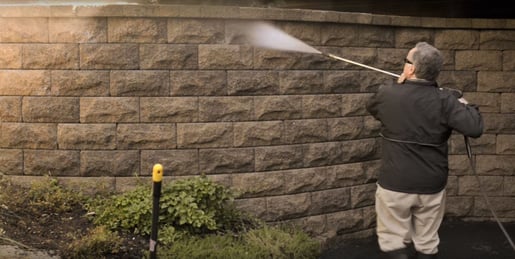
Use a pressure washer to clean out every crevice before sealing the wall.
It’s better to use the conical tip on a pressure washer because it distributes the load or pressure from that machine.
STEP 4:
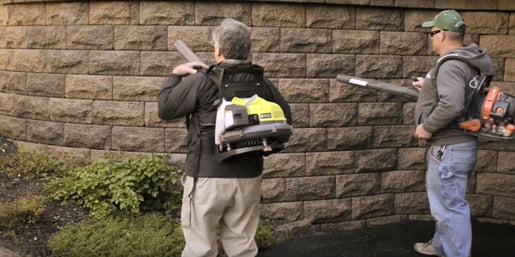
Accelerate drying time by using blowers if there is still a lot of water trapped in the pores of the blocks.
STEP 5:
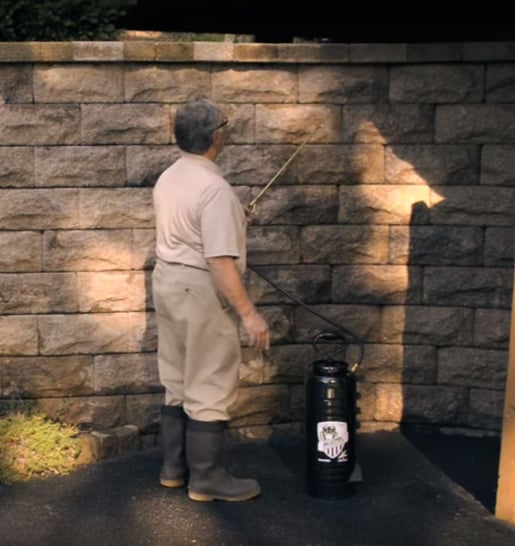
Apply a water-based or water penetrating sealer with a pump sprayer.
This type of sealer can help to resist the efflorescence and moss in the future.
There can be some moisture in the wall, but we don’t want it to be wet.
There should be no dripping, ponding or pooling of water.
Make sure there is no ponded or pooled sealer that could form at the top of the cap.
JOIN THE BIGGEST EDUCATIONAL EVENT OF THE LANDSCAPING INDUSTRY THIS WINTER AND TOGETHER, LET'S BUILD YOUR BUSINESS!

