
Paver Pete demonstrates the necessary steps to correctly install a dimple drain board in an interlocking pavement application.
A common misconception in the interlocking pavement industry is that interlocking pavement is impermeable.
In fact, it has a very low rate of permeability, around 3%. A 3% permeability rate will allow the water to travel to the lowest point. It will flow through the joints and through a C33 bedding layer.
However, we must make sure that once the water reaches the bedding layer, it is able to escape and go back to the environment. Otherwise, it will cause problems by damping up.
In this case, the pavement will be installed next to concrete. The vehicular traffic will go from an inflexible concrete curb to a flexible pavement, so we must prevent saturation in the bedding layer by allowing proper drainage.
STEP 1: Wrap a dimple drain board in a geotextile fabric. The geotextile fabric will act as a soil filter. The dimple height, sheet thickness, and compressive strength varies between manufacturers.
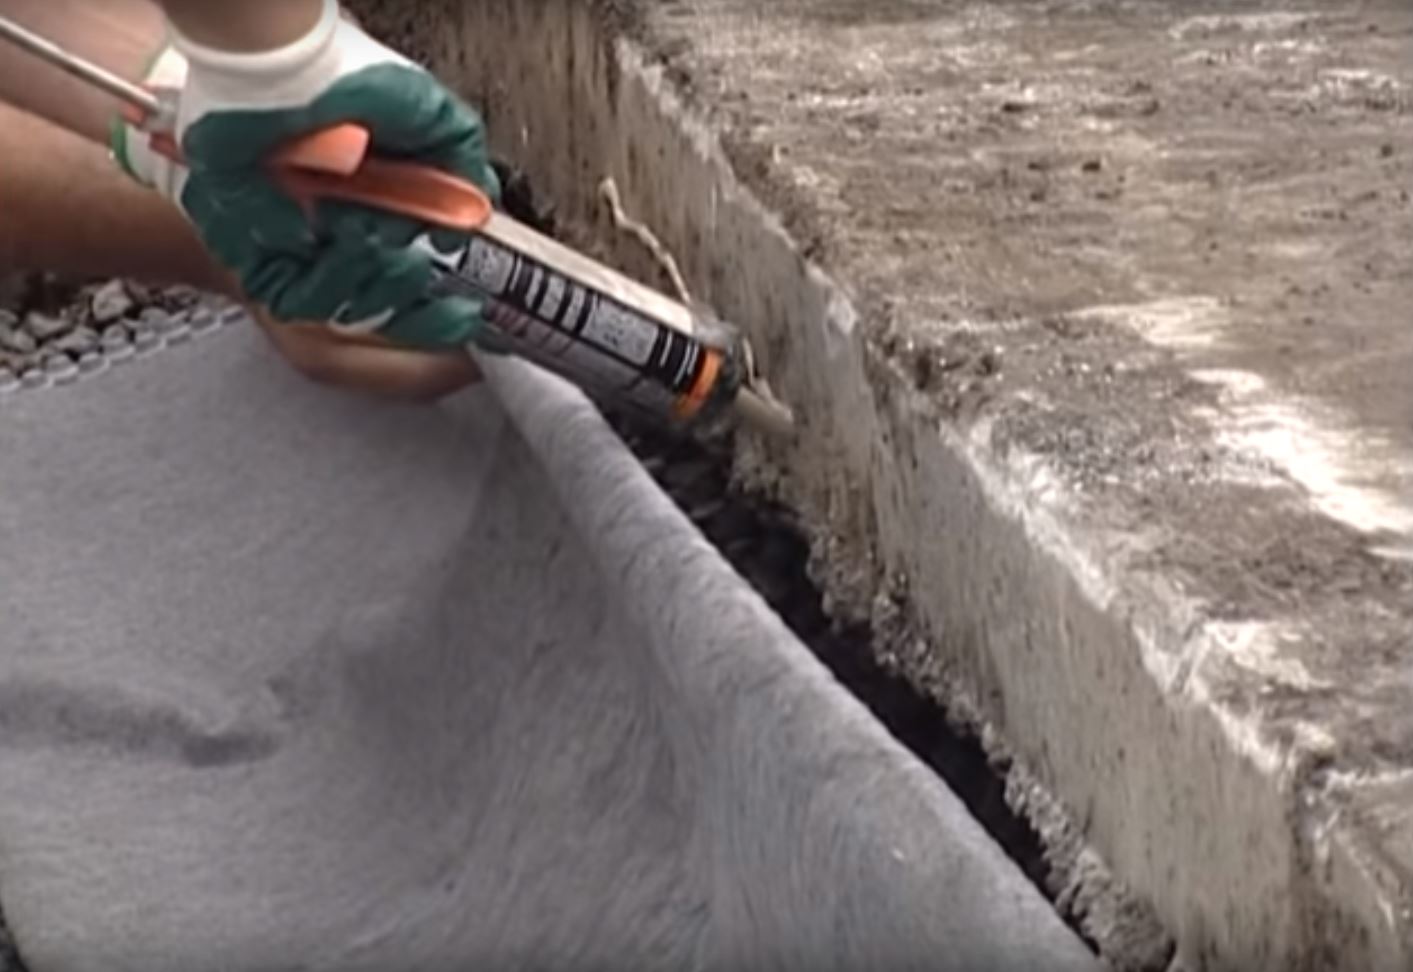
STEP 2: Apply adhesive and glue the dimple drain board to the concrete curb.
We installed it to the bedding height to prevent migration of the ASTM C33 sand. The water will circulate through the bed, run down the subgrade and dissipate into the environment
It should be at a height of about 2 inches below the threshold. The alignment or positioning of the paving stones won’t be affected.
STEP 3: Install the base, the setting bed and the paving stones over the dimple drain board.
FIND OUT MORE ABOUT CONSTRUCTION DETAILS AND OUR COLLECTION OF PAVING STONES!