
We cover the analysis and compaction of the subbase in an interlocking pavement installation.
We used 0 - 2 ½ inch stone to build our subbase here. These are well-graded aggregates.
Analysis
Here are steps of analysis that should be done before compaction.
STEP 1: Dig down to verify that the depth is adequate and the thickness is uniform.
We are aiming for a 6-inch subbase.
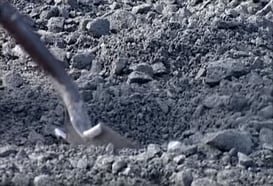
STEP 2: Check the moisture content.
The aggregate should hold together under pressure.

Your analysis should not stop at the surface. We recommend digging down in a few spots and verifying that we have an optimum moisture level, adequate to facilitate the compaction.
STEP 3: Fix the imperfections.
There should not be any imperfection greater than ± 3/8 of an inch over 10 feet.
The flat side of a rake can be used for this. Using it with its teeth down pulls the big stones away, changing the gradation.
Running string lines can also help for this step of the analysis.
Fill in the lower spots, and take down the high spots.
Compaction
In this case, we used a 12,000 pound centrifugal force rated vibratory plate compactor.
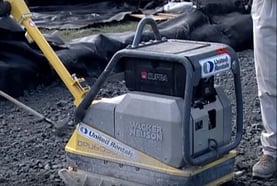
It has enough strength to vibrate the particles down through the 6-inch height we need and reach the right level of density.
A dynamic cone penetrometer can be used to measure the density.
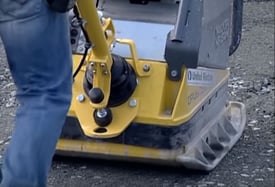
Start compaction with the perimeter and go in concentric circles towards the center. It causes the aggregate to pinch on itself.
Then, go up and down, back and forth, until the density test is passed.
The same analysis and compaction applies for base installation.
SIGN UP TODAY FOR THE 2018 CONTRACTOR SHOWCASE: JOBSITE CRASHERS EDITION!