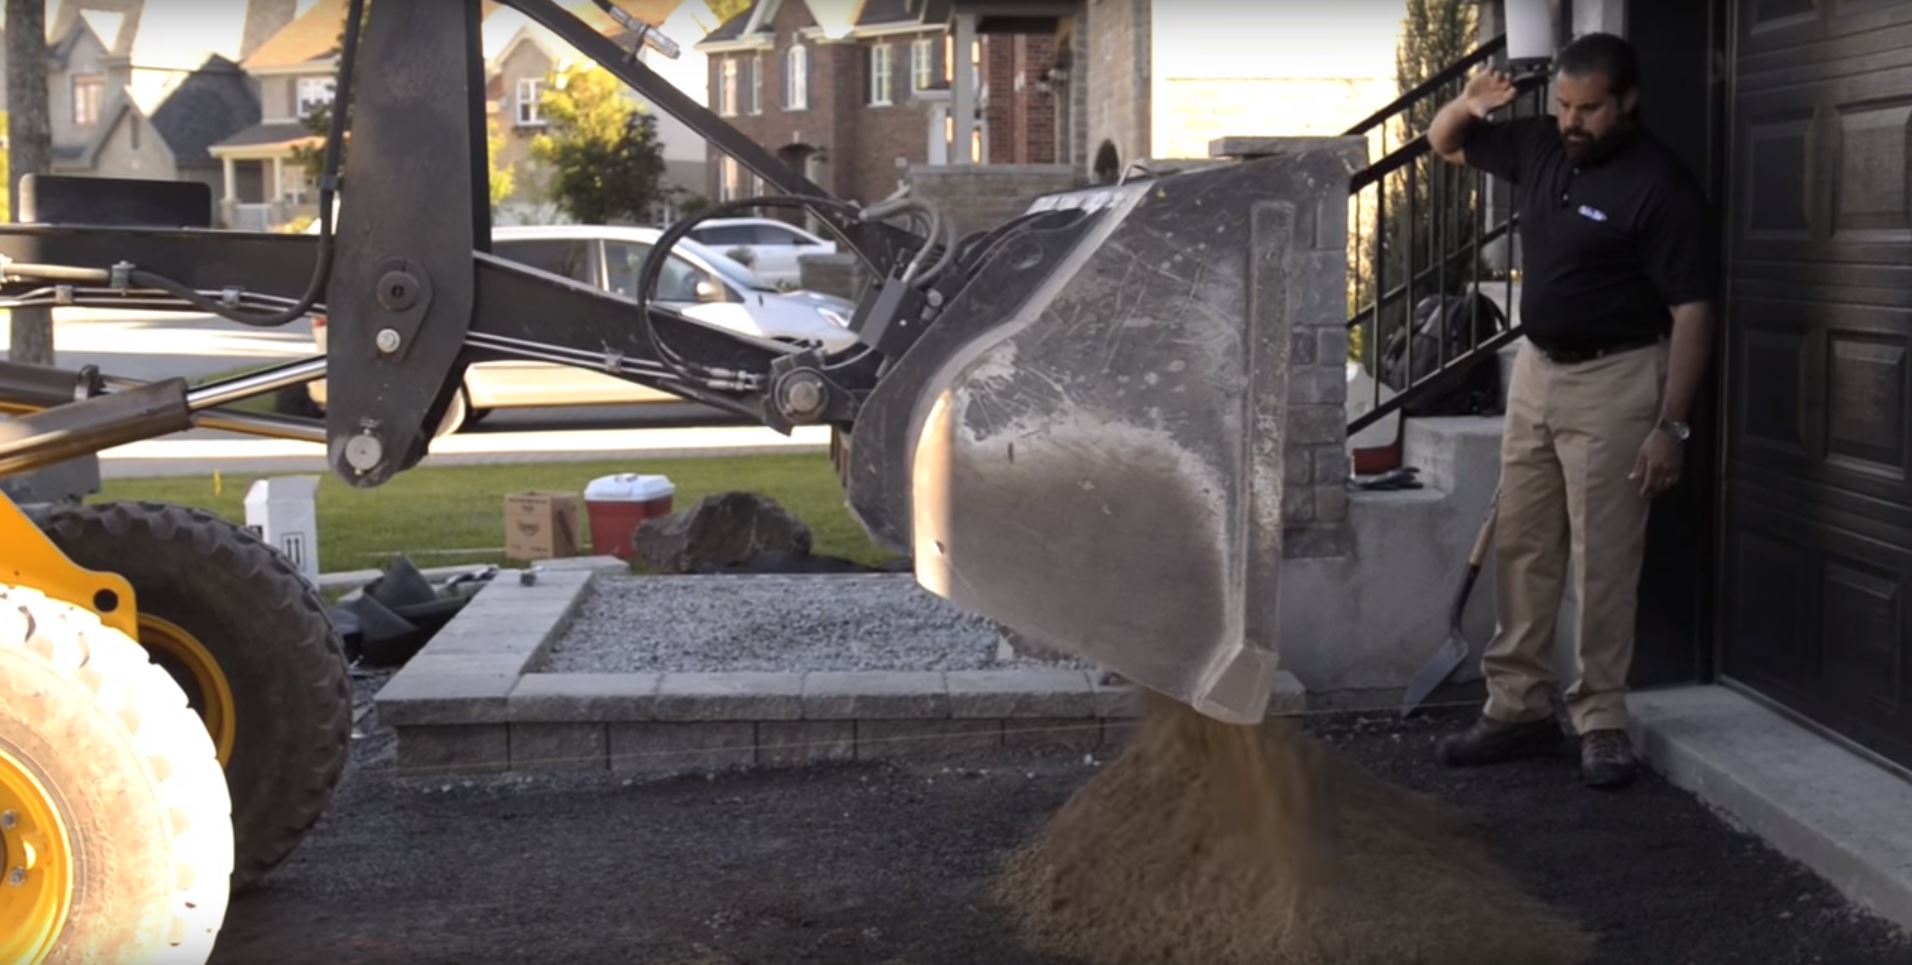
In part 2, we showed how to ensure uniform excavation, install geotextile fabric and grade the base properly. Now, it’s time to review the finished grade, screed sand and lay pavers. A complete timelapse of the project is also included.
Drainage
All projects require proper drainage.
For this project, we installed a dimpled drain board at the lowest grade point, along the concrete grade beam at the street.
To learn more about dimpled drain board installation, click here.
Driveway Markings for Finished Grade
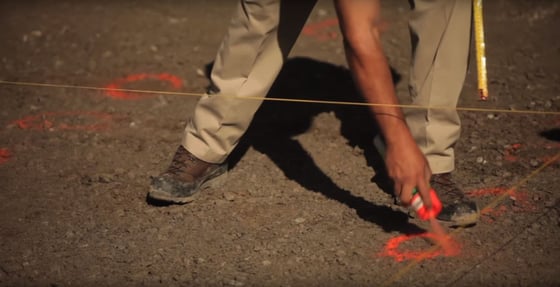
Paver Pete demonstrates how to mark a driveway to make sure we reach the proper elevation and create a smooth surface.
Using string lines and a tape measure, verify the elevation attained versus the desired elevation and use marking paint to indicate required adjustments. If no adjustments are to be made, you can confirm the correct elevation by painting a circle, or "zero", to indicate no change required.
For the areas that aren’t right, identify how much needs to be removed or added. For example, if we are short by one inch, then we need to add more material. We would indicate this with a "+1."
In this case, we are aiming for 15 ½ inches from finished grade (string line is set to finished grade height).
Screeding
Here’s how we screed and prepare the bedding layer for Techo-Bloc pavers.
The material we chose is a good free draining washed concrete sand (ASTM C33 in the USA or CSA A23.1 in Canada).
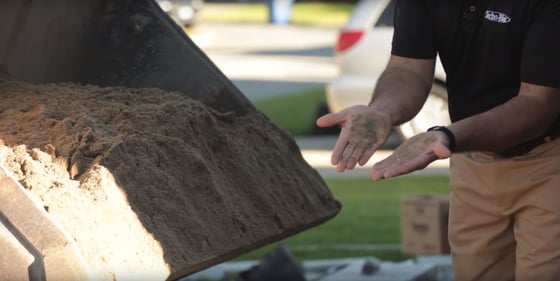
This sand has no fines, so any water entering the joints of the pavement reach the setting bed, will flow towards the lowest grade, reach the dimpled drain board and evacuate into the environment
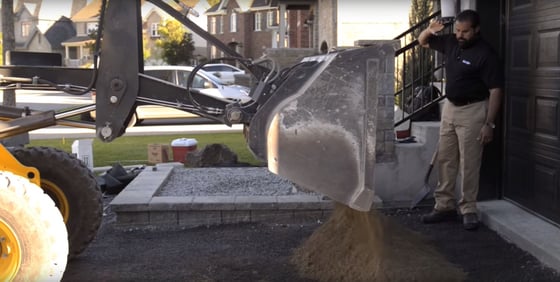
To maximize efficiencies and maintain an optimum moisture level, the sand will be stored in the shade, at the top of the grade.
Next, we will screed from the lowest grade point towards the top of the driveway.
We should only screed as much sand as we can cover with paving stones before it dries out, and most of the driveway is exposed to the sun.
Tools for Properly Grading the Surface
Paver Pete reviews tools that can be used to set a proper grade.
1/8-inch-thick metal strips can act as gauges to make sure the surface is smooth and eliminate imperfections.
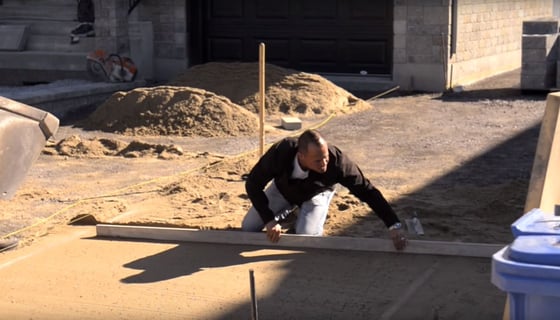
Start from the threshold.
Place one metal strip on each side.
Add sand, then place a screed board over these gauges and follow the grade of the base.
Another strip can also be put on the finished grade.
Alternatively, screed pipes or rails are commonly used for this step.
Timelapse
Timelapse footage of the installation of a Techo-Bloc paver driveway.

