Paver Pete discusses the embracing of grade changes to simplify construction, reduce costs, add character and intimacy to a hardscape project. Bench and fire pit construction are covered.
A yard has a natural sloping grade. Instead of flattening it out at significant cost, here’s a design idea that adapts to the existing elevation change.
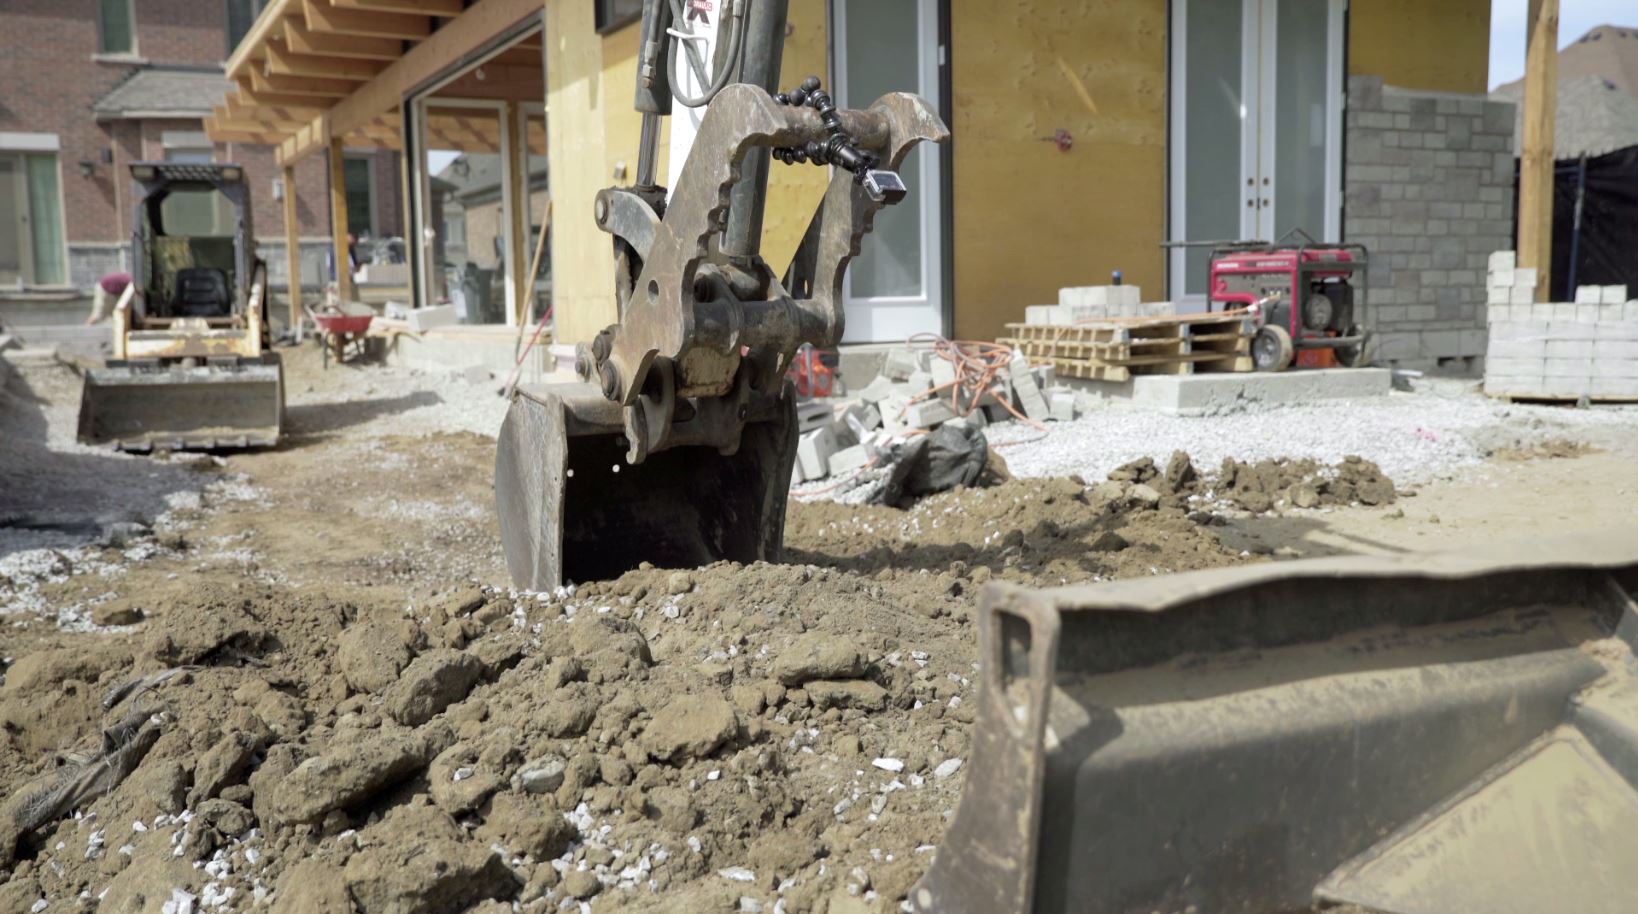
STEP 1: Excavate until the virgin or in situ soil is reached. Then, amend and compact it.

STEP 2: Add a woven geotextile as a separation layer.
STEP 3: Build a base of #57 stone, ¾-inch clean material.
STEP 4 (OPTIONAL): Add a second layer of woven geotextile to segregate the bedding layer of ¼-inch clean #8 stone and prevent migration.
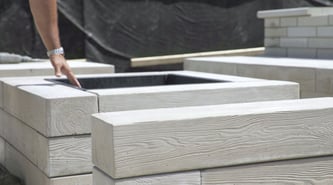
STEP 5: Construct the benches using wall block. Here we used Raffinato Polished 7”. Follow the basics of SRW construction to build a box that will be filled with #57 stone.
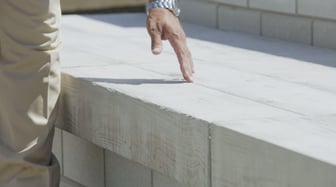
STEP 6: Create the bench surface by capping the box with Borealis Step units (6”H x 16”D x 48”L). Here we used them in a stack-bond pattern, two deep, to create a deep and comfortable seating area.
STEP 7: Create the backrest for the benches.
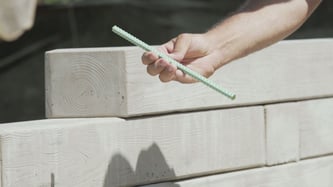
In this project, one of the backrests is the previously constructed feature wall. The other backrest is constructed using the Borealis Wall. We built it three courses high using a broken-bond pattern. It was reinforced using epoxy-coated rebar that was drilled and bonded to the Borealis Step units below.
STEP 8: Install the fire pit.
We cut down our Borealis Wall units from 48 inches to 36 and we laid it around a heat shield (Square fire pit insert available from your authorized Techo-Bloc dealer) being sure to break the bond lines every course.
STEP 9 (OPTIONAL): Install an adjacent blade wall that will support a natural stone or custom concrete cap, creating a coffee table with integrated fire pit. Its outside dimensions are 44 inches.
STEP 10: Complete the surrounding pavement as required.
We used Blu Grande polished slabs, laid in a stack bond pattern.
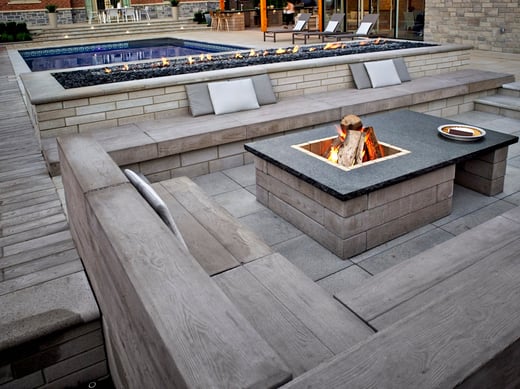
Here’s the final result:
TAKE THE FIRST STEP TO HELPING YOUR COMPANY GET INCREASED VISIBILITY TODAY!

Leave A Comment