This step-by-step installation video will give you the details on installing a heating system under a Techo-Bloc paver driveway.
Here are the steps we recommend following.
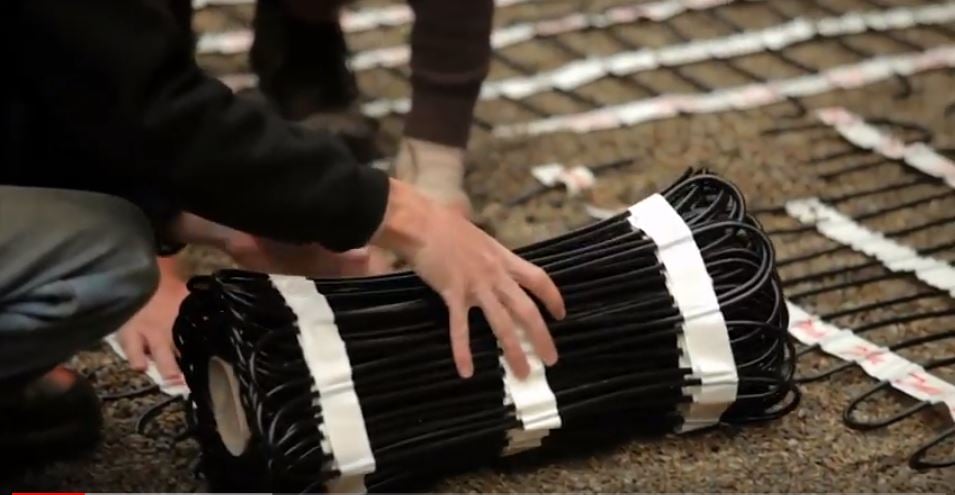
STEP 1: Lay the mats of a snow melting system over the bedding layer of the driveway.
In this case, we chose a Danfoss GX series system.

The mats were installed in 4 zones that each measure 8'8". The self-terminating ability of these mats allows better efficiency.
Many radiant heat suppliers offer a design service to help you get the right equipment for your project.
Radiant heating systems work with both interlocking and permeable pavements. For this project, we chose the latter.
An heating system combined with a permeable pavement will not only melt the snow, but also allow the water to be harvested, infiltrated and exfiltrated out into the environment.
It’s a good investment for the homeowners because it has long term advantages, and snow and ice won’t build up by the garage doors anymore.
The polyolefin cables are strong enough to resist damage that could be caused by the water or the abrasion of the #8 stone we are using as our bedding layer.

We recommend 1 inch of #8 stone under the system, and 1 inch above.
STEP 2: Add the sensors and run the conduit.

We installed 2 sensors, one on each side of the driveway.
These sensors will measure the temperature and moisture in the environment, which will automatically turn on/off the system.
The wires and mats lead to one central junction box in the house.
All of these steps can be completed without the help of an electrician.
STEP 3: Install the relay box. We recommend following the proper schematics and working with a professional electrician for this step.
The relay box we installed has 4 relays. The current will circulate in the wires, down to the terminal block.

There are also 2 wires to connect to the upper control panel.
The control panel links to the terminal block. It will also show if the zones are working or not.
CHECK OUT OUR


