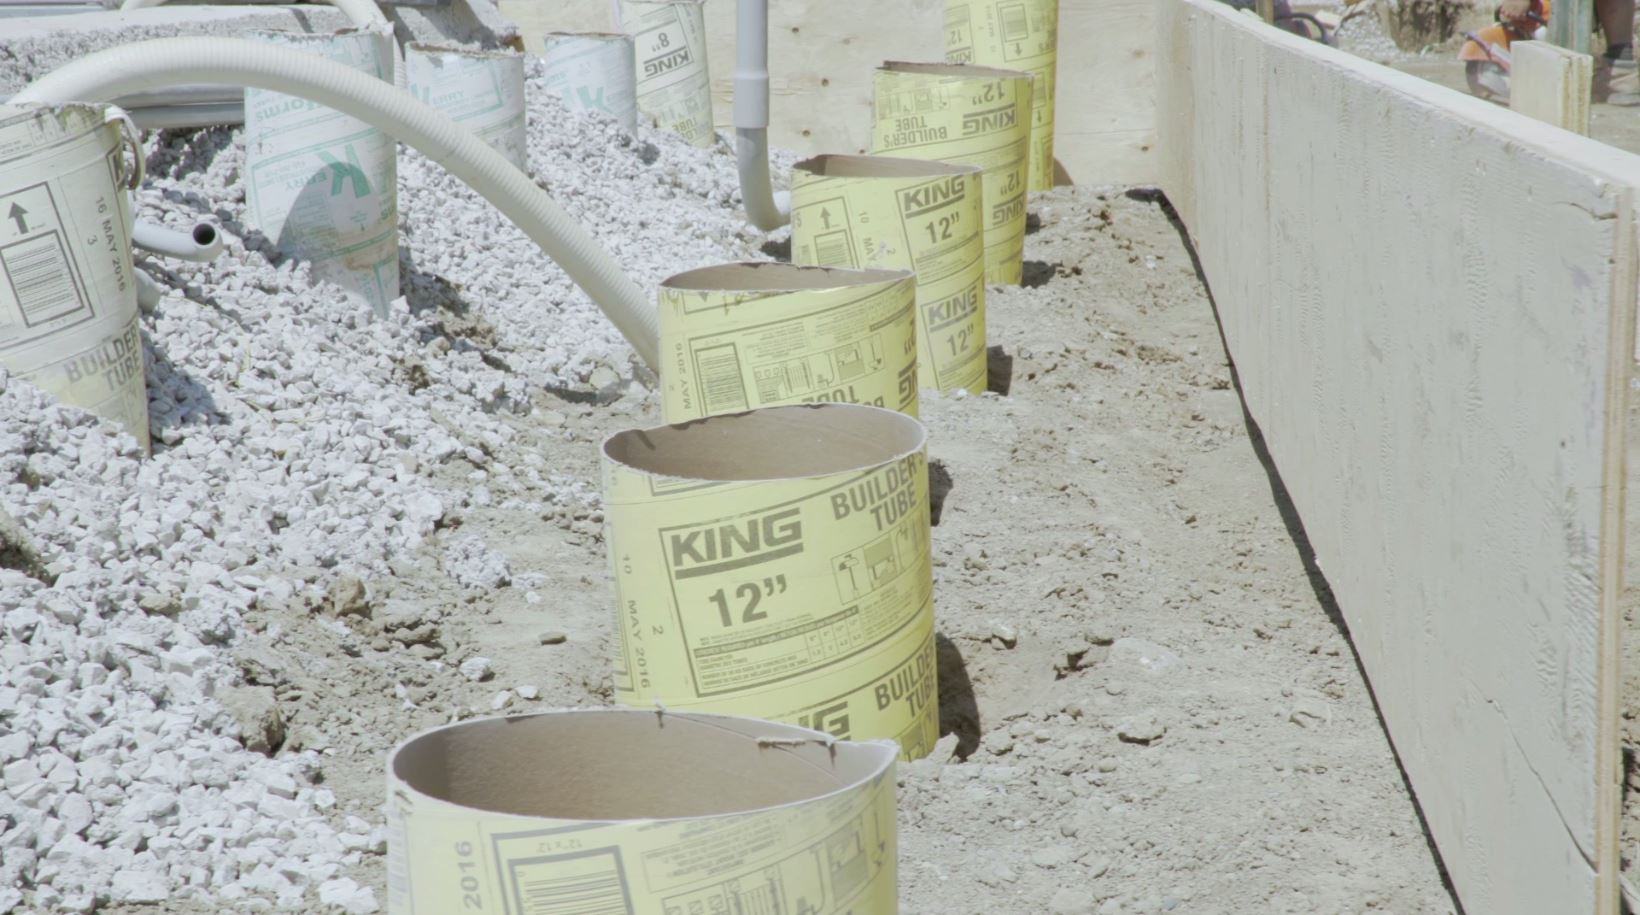
Paver Pete covers the steps required to install a feature wall that incorporates fire and water.
Pouring the concrete slab and building the wall
STEP 1: Install an aggregate base.
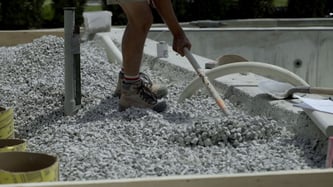
STEP 2: Position sonotubes and fill them with concrete down to the frost line to prevent seasonal movement and settlement.
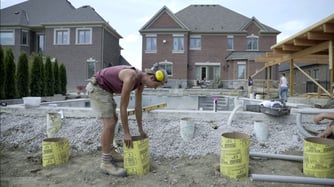
STEP 3: Build concrete base and reinforce it with rebar linked to sonotubes. The utilities have been plumbed before the pour.
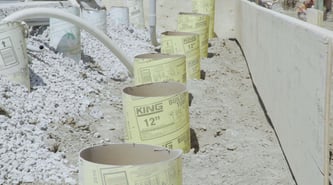
STEP 4: Adhere first course of wall block using a mortar bed. Core fill the units with additional mortar to increase mass and reinforce them to receive the safety pool anchors. The blocks can also be glued to the slab.
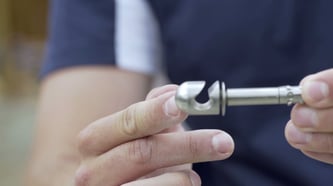
STEP 5: Build subsequent courses of blocks using vertical anchoring pins for vertical or setback position.
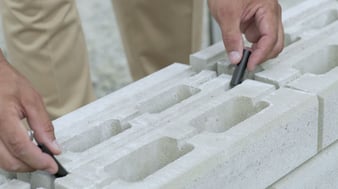
The Techo-Bloc products featured in this video are the Bullnose grande for the coping and the Raffinato polished blocks for the feature wall.
Pool side details
STEP 1: Mount pool anchors at a low position in the wall, slightly elevated above the pool coping for easier snow and water removal.
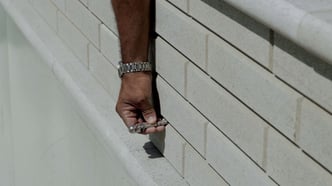
STEP 2: Pay close attention to the alignment of the pool coping and feature wall coping. Select the appropriate overhang.
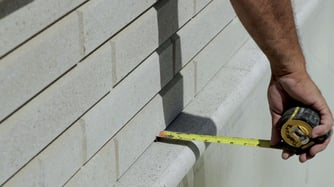
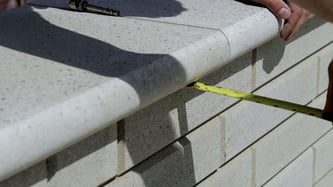
STEP 3: Notch and grind down blocks to be able to slide the waterfall unit in. Position it to ensure the correct flow of water. The area has already been plumbed for water. Now the pump needs to be installed to sheet water into the pool.
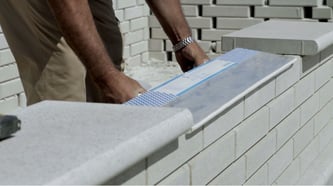
STEP 4 (OPTIONAL): Install integral LED under cap lighting. The transformer will be placed behind the sitting wall.
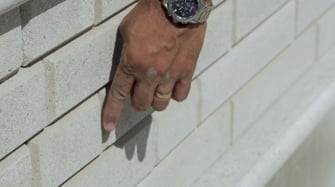
Aesthetic detail: when using cut Raffinato units, be sure able to replicate the manufactured chamfer of the other 3 edges by using a grinding cup or wheel. This allows the cut units to blend seamlessly in with the surrounding blocks.
Fire element details
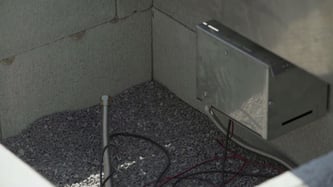
STEP 1: Create fire burner support cribs using CMUs. The cribs elevate the burners and permit air circulation. This structure is hidden within the feature wall. Be sure to leave an opening at the lowest point in the crib
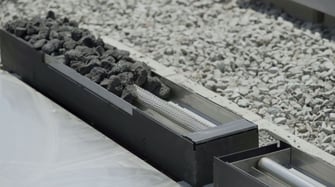
Select the correct fire burners for your application, here we used linear natural gas burners with an output of 37,000 to 50,000 BTU from Firegear Outdoors. (http://firegearoutdoors.com/)
STEP 2: Install 3/8-inch-thick aluminum panels to bridge over the crib openings. The panels provide quick access to the burner valve box and controls while also supporting the decorative fire media.
Access is important for annual inspections and regular maintenance.
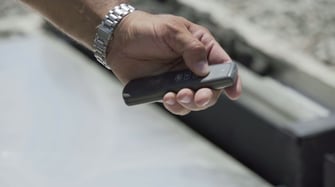
STEP 3: Synchronize remote control. Hold the ON button until the igniter probe clicks and the flame will come on.
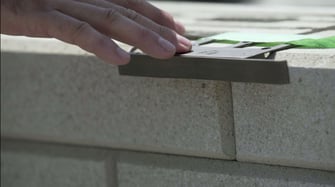
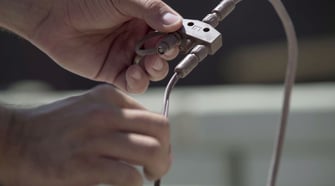
STEP 4 (OPTIONAL): Install lights. Here we used Coastal Source lighting. It has 100% brass fixtures, and it runs patented mini connectors and lip zinc wires that are lightweight and flexible.
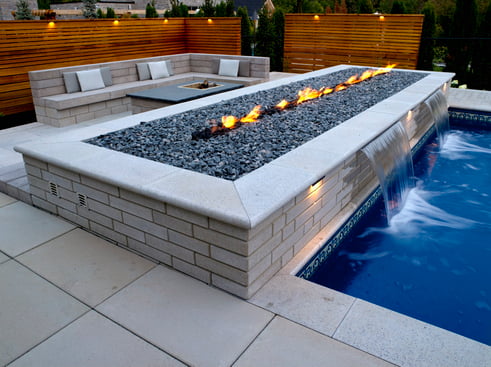
Here’s the final result of our feature wall with all the elements:
BENEFIT FROM CERTIFICATION, MARKETING SUPPORT AND LEADS TODAY!

