


Everything contractors and homeowners need to know, from drilling and wiring to setting fixtures and connecting to a transformer.
Watch the full installation in the video above before diving into the steps below.
Paver Pete discusses with Jason Faist from In-Lite how to integrate lighting into a paver installation — turning a standard hardscape project into something that looks completely different after dark.
For this project, we previously built an 8.5-foot contemporary textured G-Force wall and Raffinato steps. The patio features Mista pavers in a three-piece random texture across two colors — Chestnut Brown and Champlain Grey — all randomly mixed together.
We chose integrated fixtures that can be easily incorporated into any hardscape application, as well as decks, and created a random contemporary pattern using lights of different sizes for a starry night feel. Traditionally, lights would be inserted into the border, but we wanted something different.
Here's how we did it.
Step 1: Mark Your Light Locations
Put a mark on the paver at the location where you want the light to go. For this application, we chose random locations rather than centering each light.
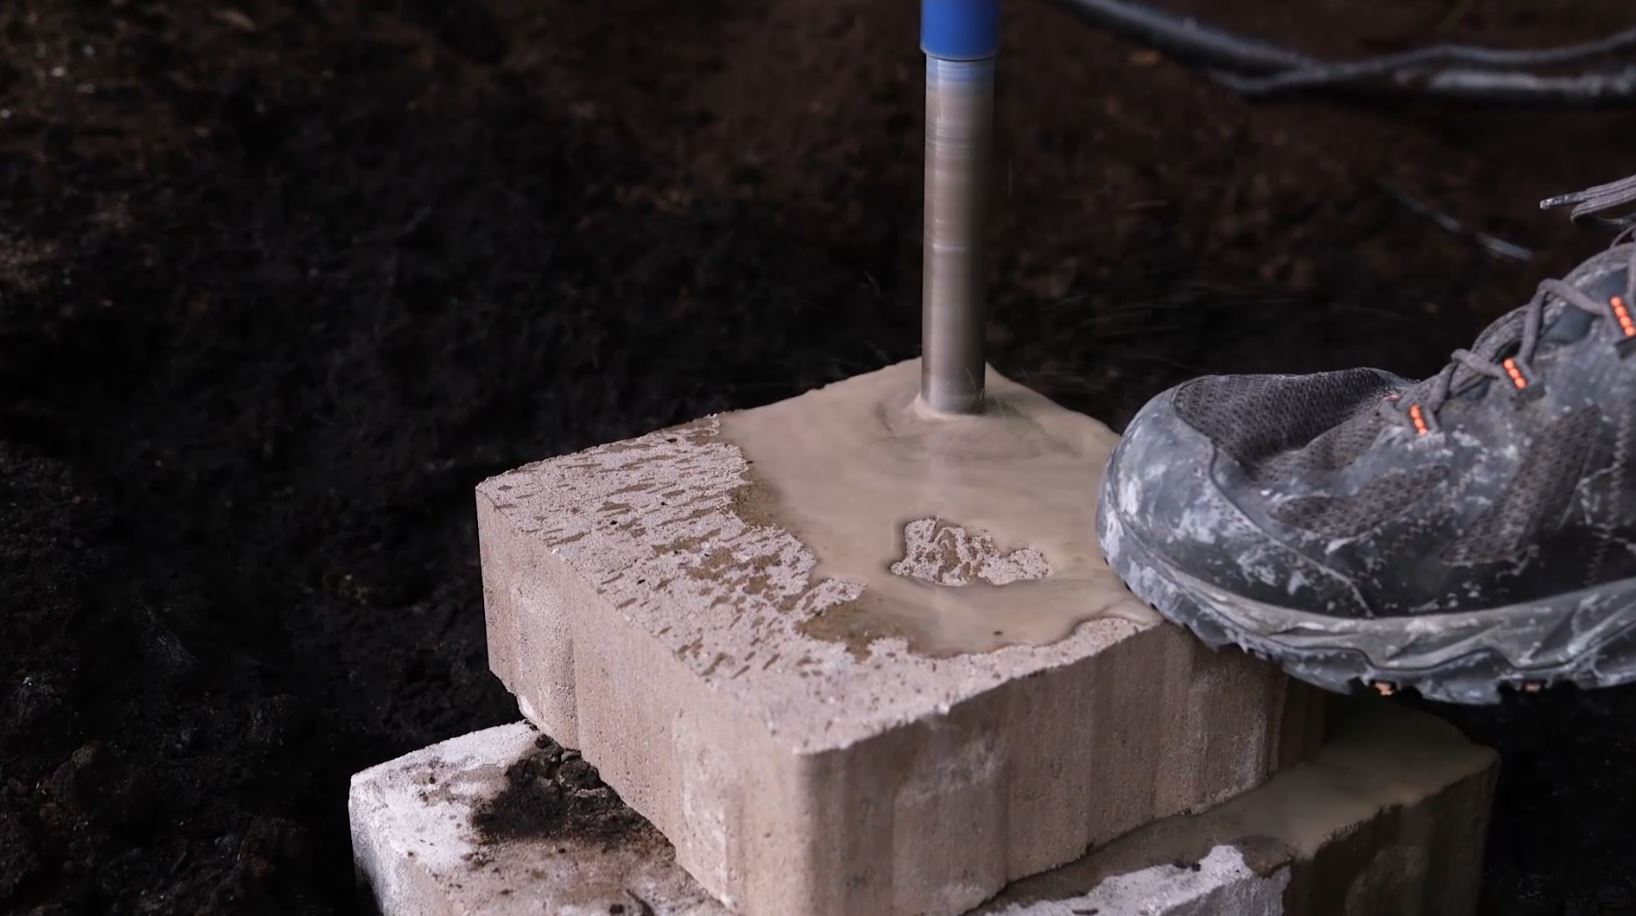
Step 2: Drill the Hole
Put on safety glasses. Take a standard hammer drill with a diamond bit and turn the water on. Start at a 45° angle and allow the bit to catch the paver before drilling straight through.
Step 3: Clean the Surface
Rinse off all residue with a hose to make sure you have a clean surface before proceeding.
Step 4: Create a Channel for the Wire
Typically, wiring is run into the bedding layer. However, since we installed a Gator Base from Alliance underneath the pavers, we cut a channel into it with a knife to route the wire.
We chose ground lights from In-Lite — small integrated fixtures with a diameter of 7/8 inch (22 mm), matching the diamond bit exactly. The ribs on the side hold the light firmly in place with no silicone or adhesive needed.
Step 5: Feed the Wire
Feed the wire through the hole you made in the paver.
Step 6: Insert the Light
Tap the light lightly with a rubber mallet until it's fully inserted into the paver. These fixtures are durable enough to be driven over and snowplowed.
Step 7: Set the Paver
Set the paver in place and run the wire through the channel or bedding layer.
Step 8 (Optional): Add an Extender
We added an extender to keep the connection point outside the paver field for easy access. This optional piece comes in various lengths and connects with a single prong that resists water.
Step 9: Run the Main Cable to the Transformer
The connector for the main line is equipped with two epoxy-filled prongs that create a tight water seal. The lights run on low voltage off a transformer — the small fixtures need just ¼ watt, the larger ones only 1 watt.
Step 10: Connect and Lock the Cable
Place the wire guide on top of the cable and set the connector. Twist until you hear a click. A channel in the connector shows exactly where the wires line up.
Step 11: Set the Remaining Pavers
Place the remaining paving stones over the cable runs.
Step 12: Bury the Exterior Wiring
Bury the wires in the landscape outside the paved area to finish the installation.
Want lit steps without the drilling?
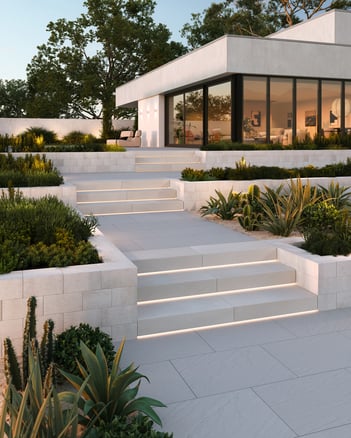
We just launched Systema Step, a clean, modern step with a built-in lighting channel designed specifically for LED strip lighting. Same low-voltage setup, no drilling required. The recessed undercut creates a natural glow effect beneath each step for a floating look. Discover our Systema Steps on the Techo-Bloc website!
