

Paver Pete demonstrates how to install a gas trench line, build a fire pit and convert it from wood to natural gas.
Gas Trench Line
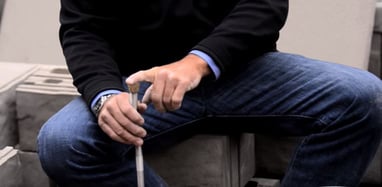
Paver Pete explains how to install a gas trench line for a fire pit construction.
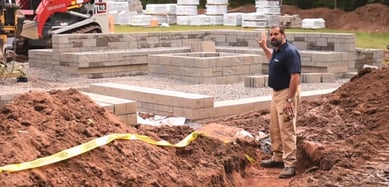
Here we chose to build a Techo-Bloc Brandon wall fire pit. We will install a custom propane insert for the burner.
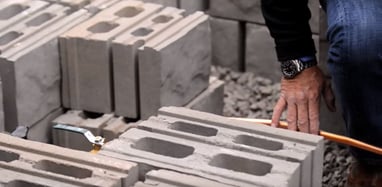
STEP 1: Excavate a trench for the gas line that will be running to the fire pit.
We need a 6-inch bed of sand.
STEP 2: Use a tracer wire for future utility location. Put the marking tape in the center of the trench.
Steps of Installation
Paver Pete reviews all the steps to follow for a custom Brandon fire pit installation. Techo-Bloc also offers a pre-packaged kit for quicker assembly (details below).
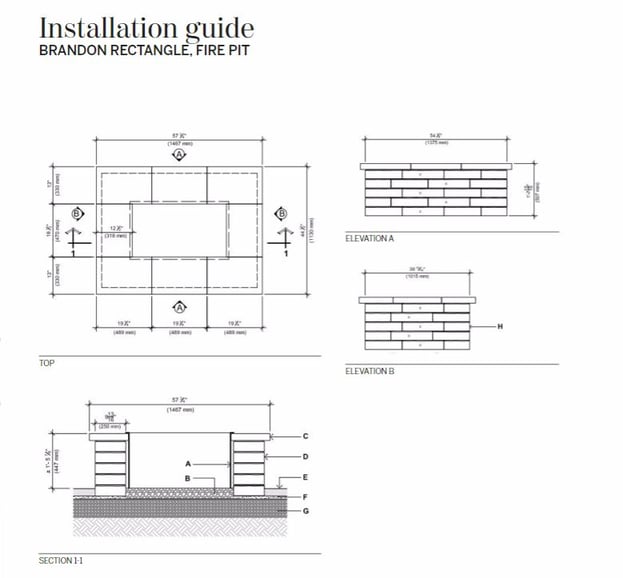
STEP 1: Lay the first layer of the fire pit perimeter on a properly screeded and level base.
This fire pit design uses Brandon 180mm corners and the 3 sizes of Brandon Wall 180mm (A, B and C units of the 7-inch block).
A: Smallest tapered unit
B: Middle
C: Longest tapered unit
STEP 2 (optional): Install a low-voltage line and regular voltage as well for future outlets. The perimeter will be lighted just below the cap. These should be run through a different conduit from the gas line.
STEP 3: Instead of laying the ABC units after the corner, we will deviate from the pattern by adding 2 x Brandon 90mm (3.5-inch) wall units next to the corner. Clip and glue these blocks together.
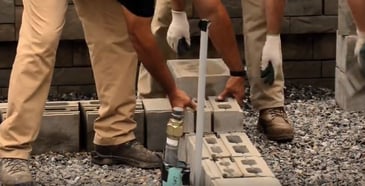
These units are a placeholder to be able to insert the vents. The propane burner requires at least 30 in.² of vent space.
STEP 5: Keep building with the blocks following the C-B-A-Corner pattern and complete the third course.
Alternative: Refer to page 256 and page 258 of our Techo-Spec for a template of installation of our Brandon Rectangle and Square Fire Pit kits. These are pre-packaged with all units required for quick assembly:

Installation of match-lit liquid propane burner
Paver Pete shows how to complete the installation of a natural gas or liquid propane burner in an outdoor fire pit.
STEP 1: Install the main feed line and use silicone around the valve for a nice finish up against the block.
Silicone is a better option than glue or adhesive since it will be a lot easier to remove if it needs to be repaired or maintained.
The main feed line connects to the control valve that operates this match lit system. It allows the system to be turned on and off and it can be adjusted from high to low.
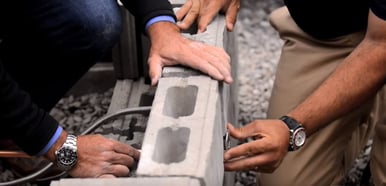
STEP 2: Glue all the blocks in place and pull the designated 90mm (3.5-inch) blocks out to insert the vents.
STEP 3: Install another feed line that will go through the conduit to the trench previously excavated, all the way to the tank. This feed line comes from the control valve up to the bottom of the burner.
STEP 4: Hire a licensed and bonded gas technician to make all the connections.
Keep in mind that working with natural gas or liquid propane is extremely hazardous. This article is intended for informational purposes only. It's recommended that you hire a qualified contractor to install gas supply lines and appliances. Local codes should always be followed, as well as the manufacturer's installation operation and safety instructions.
CHECK OUT OUR 