
Part 1
How to install an edge restraint in an interlocking pavement application before paver installation, explained by Paver Pete.
The edge restraint for a pavement project can be installed either before, or after the setting bed and pavers. In either case, be sure to mount it directly to the compacted base material.
In a driveway project like this, it is much more productive to install at least one side first.
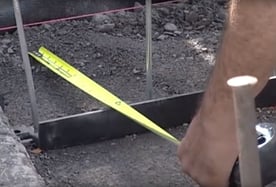
STEP 1: Mark the area where the edge will be installed.
The thickness of the base needs to extend beyond the edge so the spikes have something to grab onto. Also, it should not be spiked too close to the soil or grass. Here, the base extension measures 12 inches, which is the same as the thickness of the base.
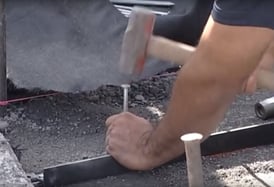
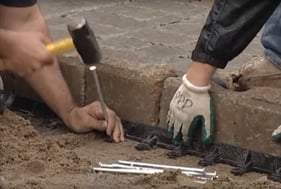
STEP 2: Spikes should be placed no more than 8 to 10 inches apart. In a vehicular traffic application, like this one, the driveway can see a lot of horizontal load from cars turning as the come and go. That is why we opted for one spike every 8 inches.
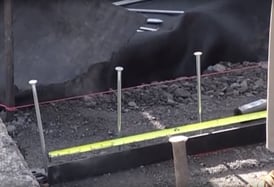
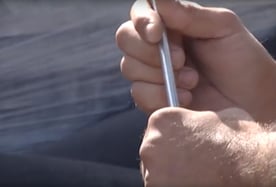
The spikes are 8 to 10-inch non-galvanized spikes. This type of spike rusts into the earth and provides additional adhesion to keep it down.
STEP 3: Drive the spikes into the edge restraint to hold it in place.
Be careful not to de-seat the spikes. A part of these spikes needs to be left above the base. When driven too far down, they tend to bounce back up, creating a small space beneath them. This space allows water to build up and push the spikes out of the ground during the freeze thaw.
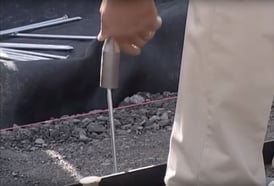
Tool options:
- 2 to 3-pound maul.
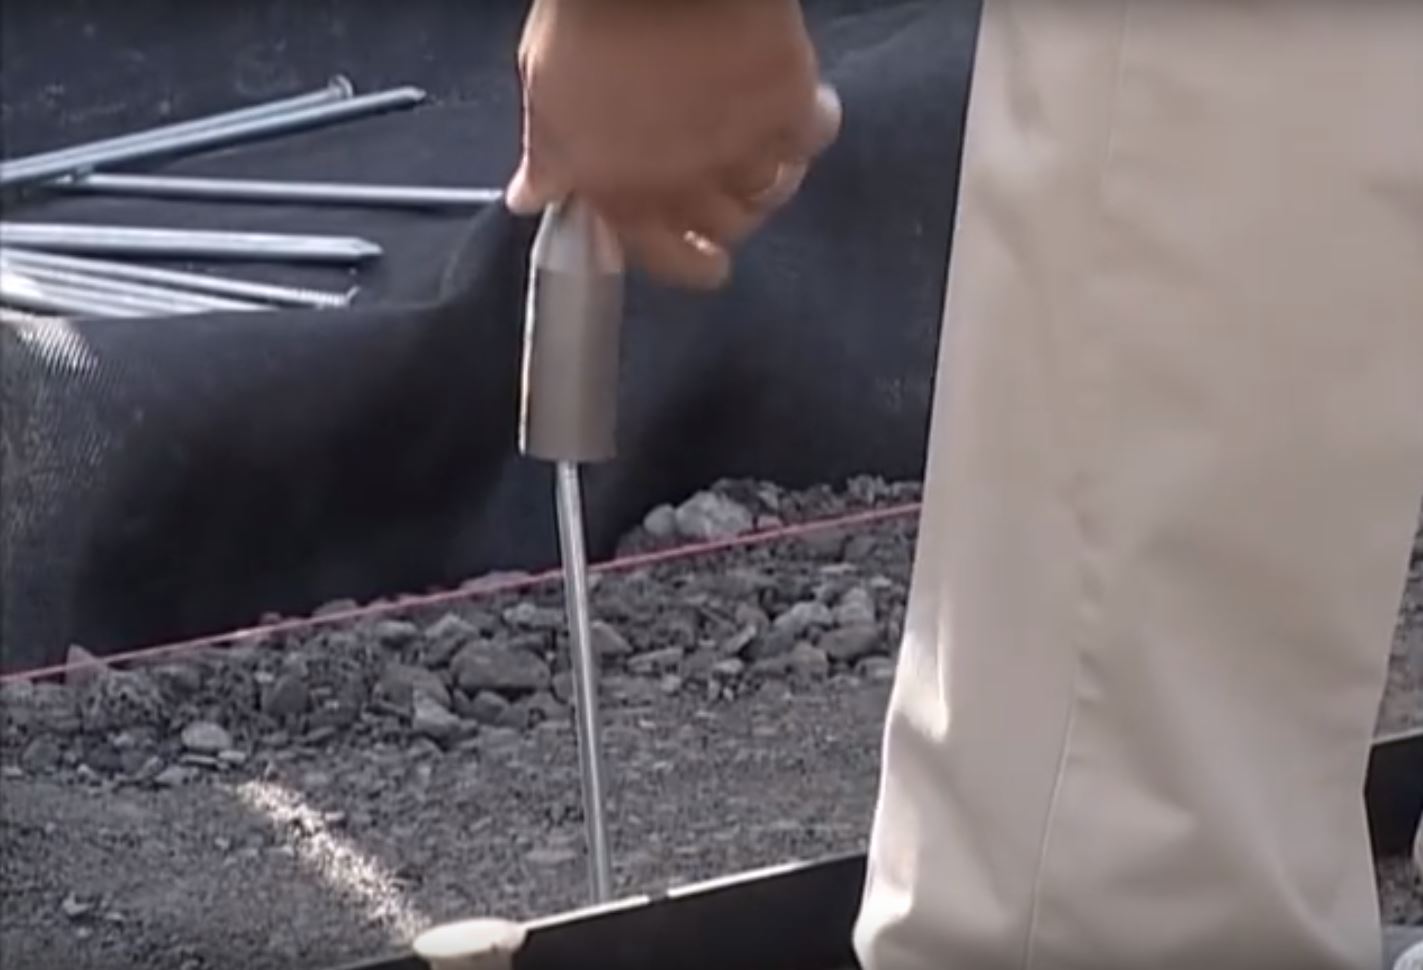
- Electric hammer drill with Quick-E Hammer Tool It adds speed, which is better when a lot of spiking needs to be done, and demands less effort, especially in a base that is compacted to an excess of 98% standard proctor density. Place the tool on the spike, pull the trigger, drive it down and move down the line to get all the spikes in.
 Part 2
How to install an edge restraint in an interlocking pavement application after paver installation, explained by Paver Pete.
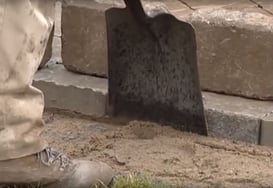
STEP 4: Use a flat nose shovel, push it up against the side of the pavers and pull the sand away. Avoid cutting down into the base.
This step provides a clean area to mount the edge restraint to the base and retain the bedding material.
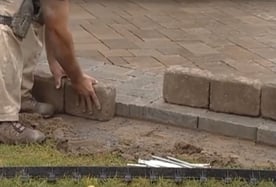
Here we chose the Belgik units from Techo-Bloc. They will provide additional support to encapsulate that bedding layer.
Options of edge restraint:
- Steel-reinforced troweled concrete edge
- Techo-Bloc Belgik units with a steel-reinforced troweled concrete backing
- Our choice: Belgik units with a PVC edge restraint behind it
STEP 5: Set the edge units in and link the two pieces of edge restraint together.
STEP 6: Drive the 8 to 10-inch non-galvanized spikes down into the edge restraint in a slight angle, every 8 inches for a vehicular traffic application.
READY FOR THE NEXT STEP? BECOME ONE OF OUR PRE-SELECTED PARTNERS NOW!
