Paver Pete explains how to use the sailor course and gap the pavers away from the coping.
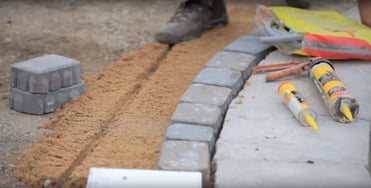
In this project, we decided to install our Villagio paver for both the area around the fire pit and the sailor course around the pool coping to keep some continuity.
Our Aberdeen slab is too large for this application and it’s very difficul to make cuts in and around a free-form pool.
Also, our Portofino coping has a very natural texture to it, so getting those Aberdeen units tight in there demands a lot of work.

Laying pavers around the coping
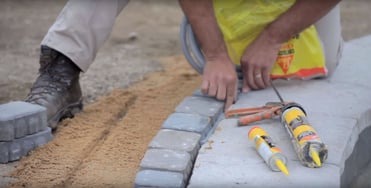
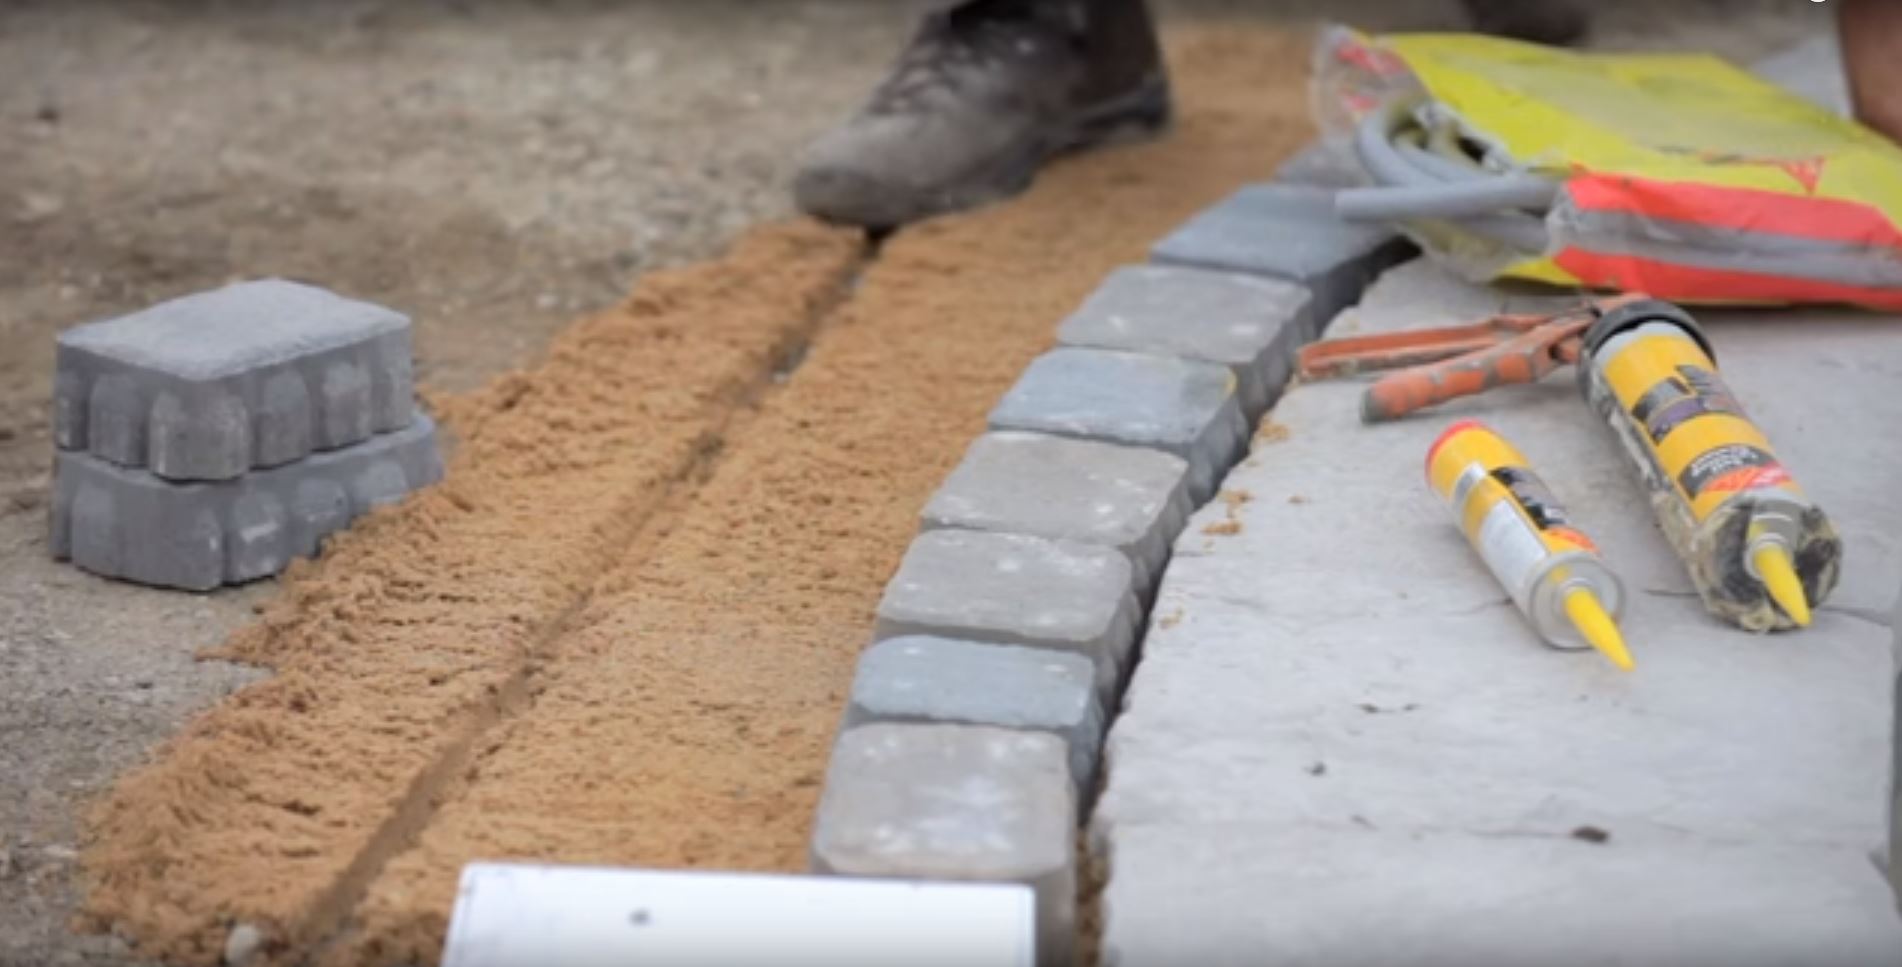
STEP 1: Gap the pavers off the coping to keep a consistent sweep around it.
During freeze thaw, if the pavers push against the coping, they can potentially move the coping units and it will be a tough repair to make.
That gap adds a new level of complexity. What should we do with it?
STEP 2: Insert a foam backer rod in the seam.
It does not act as an expansion joint for freeze thaw. It just allows us to use less adhesive, in this case a self-leveling sealant.
If we don't use a foam rod, it will cost about a tube of adhesive every three or four pieces.

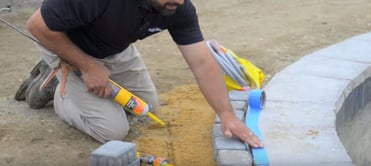
STEP 3: Add self-leveling caulk over the foam rod.
We did install a good free draining setting bed here, so any water entering the bedding layer is going to run off into the environment.
However, we prefer to keep the water on the surface since it will sheet faster.
Trick of the trade
When applying the self-leveling caulk over the foam backer rod, you can put in a layer of painter's tape.
If there's any overflow onto the cap, all you need to do is peel it away.

CHECK OUT OUR


