
Paver Pete describes how we will construct an upper patio in an interlocking pavement, followed by a rain harvesting system in a permeable pavement. First, let's get the material we need at Aquascape!
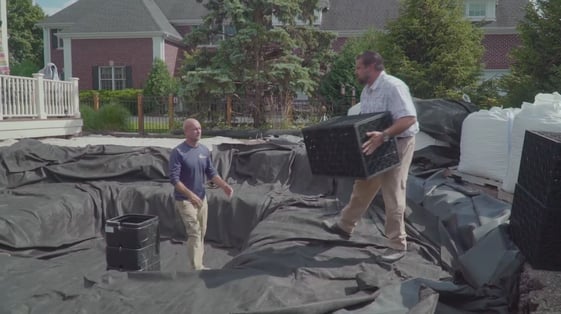
Getting Material at Aquascape
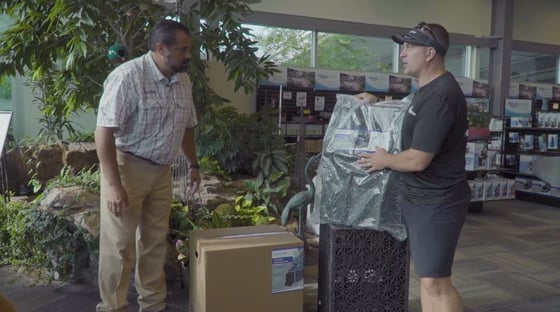
At the beginning of our project, we had to get the material needed to construct our rain harvesting system.
So, we went to Aquascape, and they were provided to us by Greg Wittstock, the Pond Guy.
We got the AquaBlox® that will go underneath the patio, as well as a snorkel and a Pondless® Waterfall Vault. They will allow water to recirculate through the boulders.
An AquaBlox® creates a void space to store the water. Then, the water recirculates through the pump.
We will have 15 AquaBlox® total. They will be installed at the lowest grade point, the pump can still be accessed during the winter months.
Pond Vault and AquaBlox®
Decks aren’t permeable. Just because you can't see where the water is going, it doesn't mean you're managing it.
This homeowner had already built a small wooden deck area and they wanted to expand it. We decided to add an upper patio that was designed following the same theme.
For the upper landing, we used our Borealis plank stone, which is a wood textured slab system. We installed it in an interlocking system.
We added a Prescott set of steps to reach the lower landing, which is made of a segmental permeable pavement with Aquascape rain harvesting technology.
For the majority of this area, we selected our Victorien Permeable in Chestnut Brown.
We designed a small mosaic that picked up on the Borealis theme of the upper landing.
We bordered the entire area with our Victorien in Chocolate Brown.
A bubbling rock was also incorporated. Water recirculated over that rock into an Antika pavement area, in Onyx Black.
Here’s how we installed the rain harvesting system:
STEP 1:
Excavation.
We worked with an in situ soil, which is a soil that hasn't been disturbed for over 100 years. No compaction was needed.
STEP 2:
Install a liner and add washed concrete sand over it for protection. The layer should be
approximately one-inch thick.
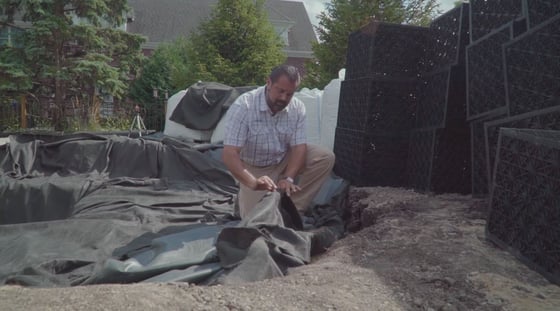
STEP 3:
Install a 3 ½-ounce minimum non-woven geotextile.
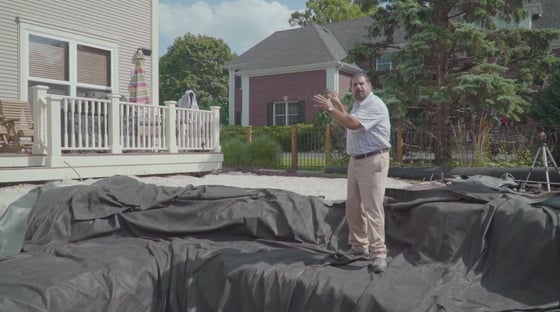
STEP 4:
Add an EPDM liner to hold the water. Protect it again with a 3 ½-ounce minimum non-woven geotextile fabric.
STEP 5:
Install the pump vault into the center of that area at the lowest point. Make sure the vault is leveled and plumbed.
STEP 6:
Add AquaBlox®
Each AquaBlox® can hold approximately 32 gallons of water.
We used 15 of them in this application, giving us approximately 500 gallons in the lower rain harvesting area.
The entire area will hold approximately 1200 gallons of water.
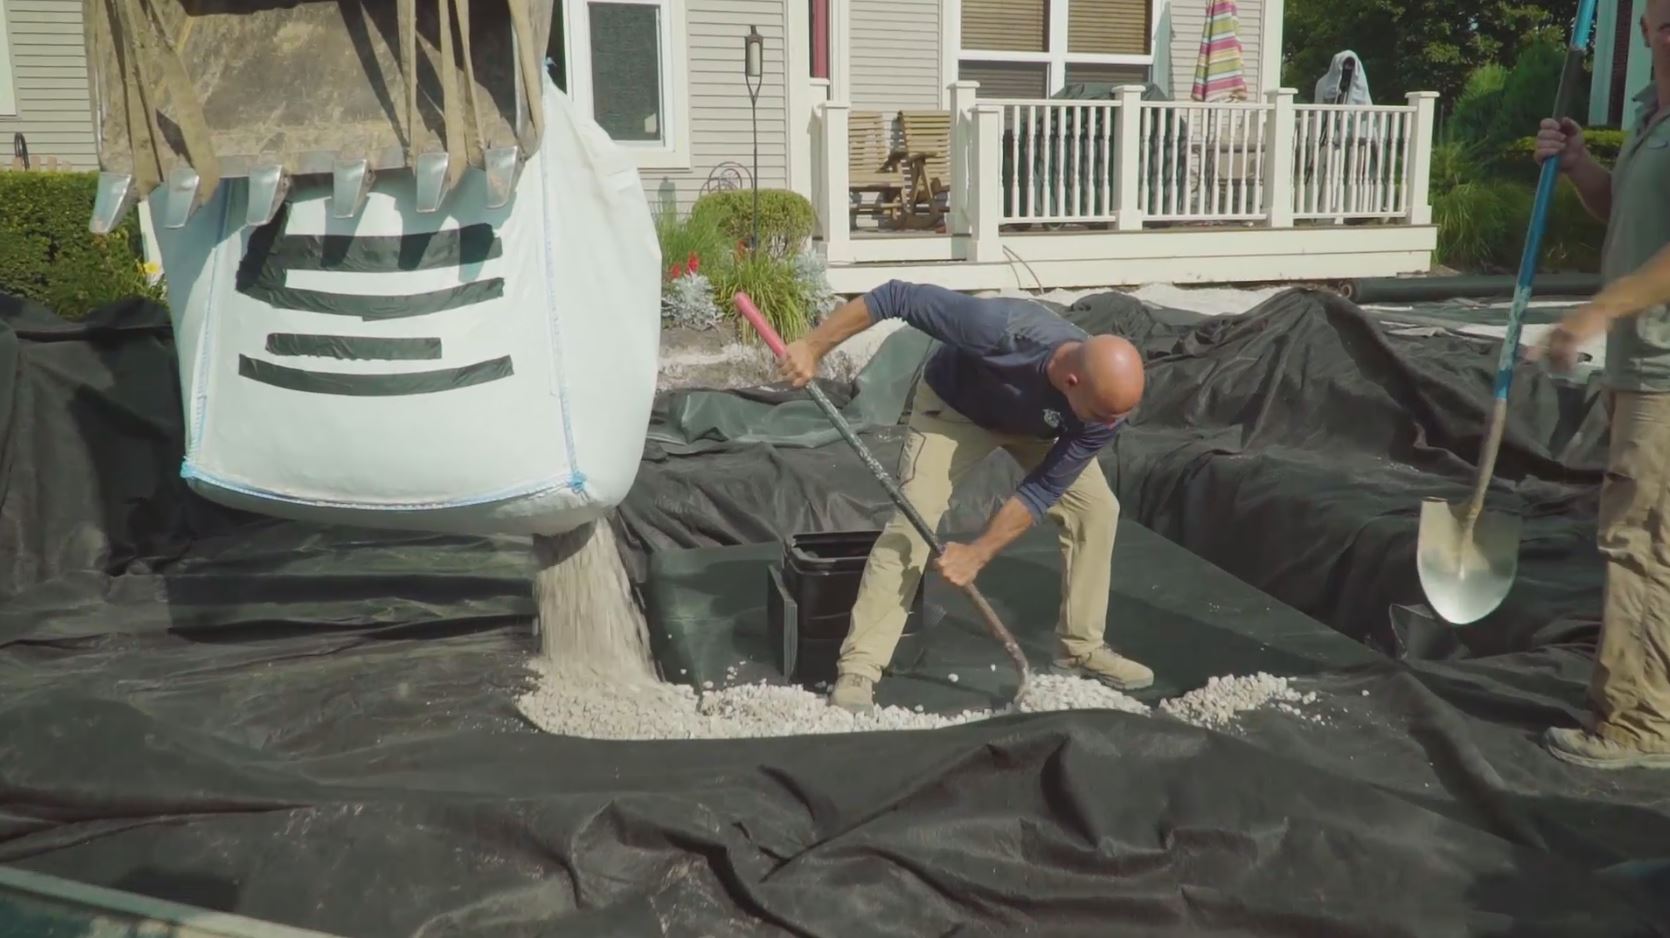
STEP 7:
Add ASTM #57 stone over the geotextile.

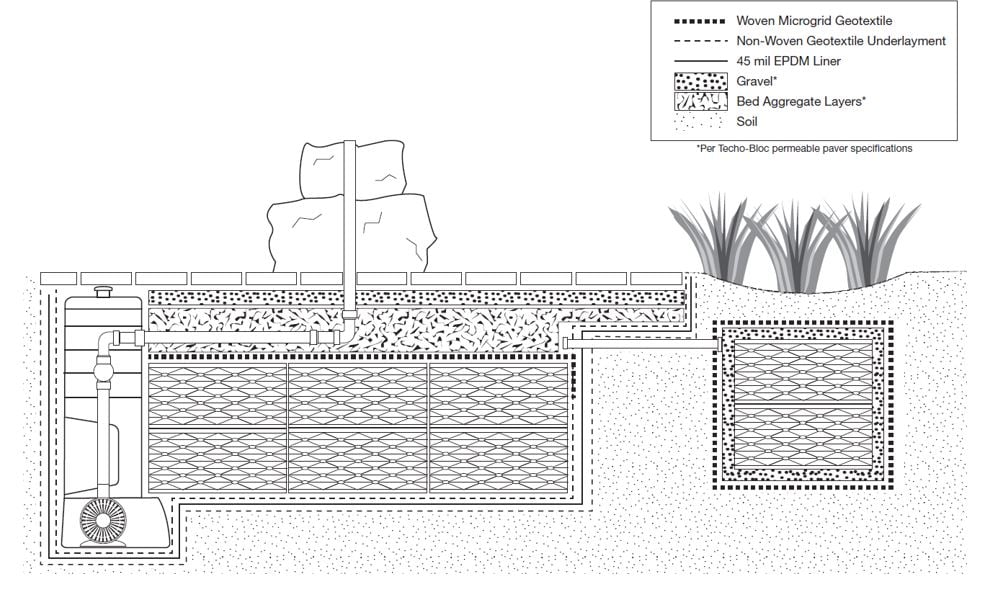
Here's a cross section to give you a better idea of what the rain harvesting system will look like:
CHECK OUT OUR
 !
!