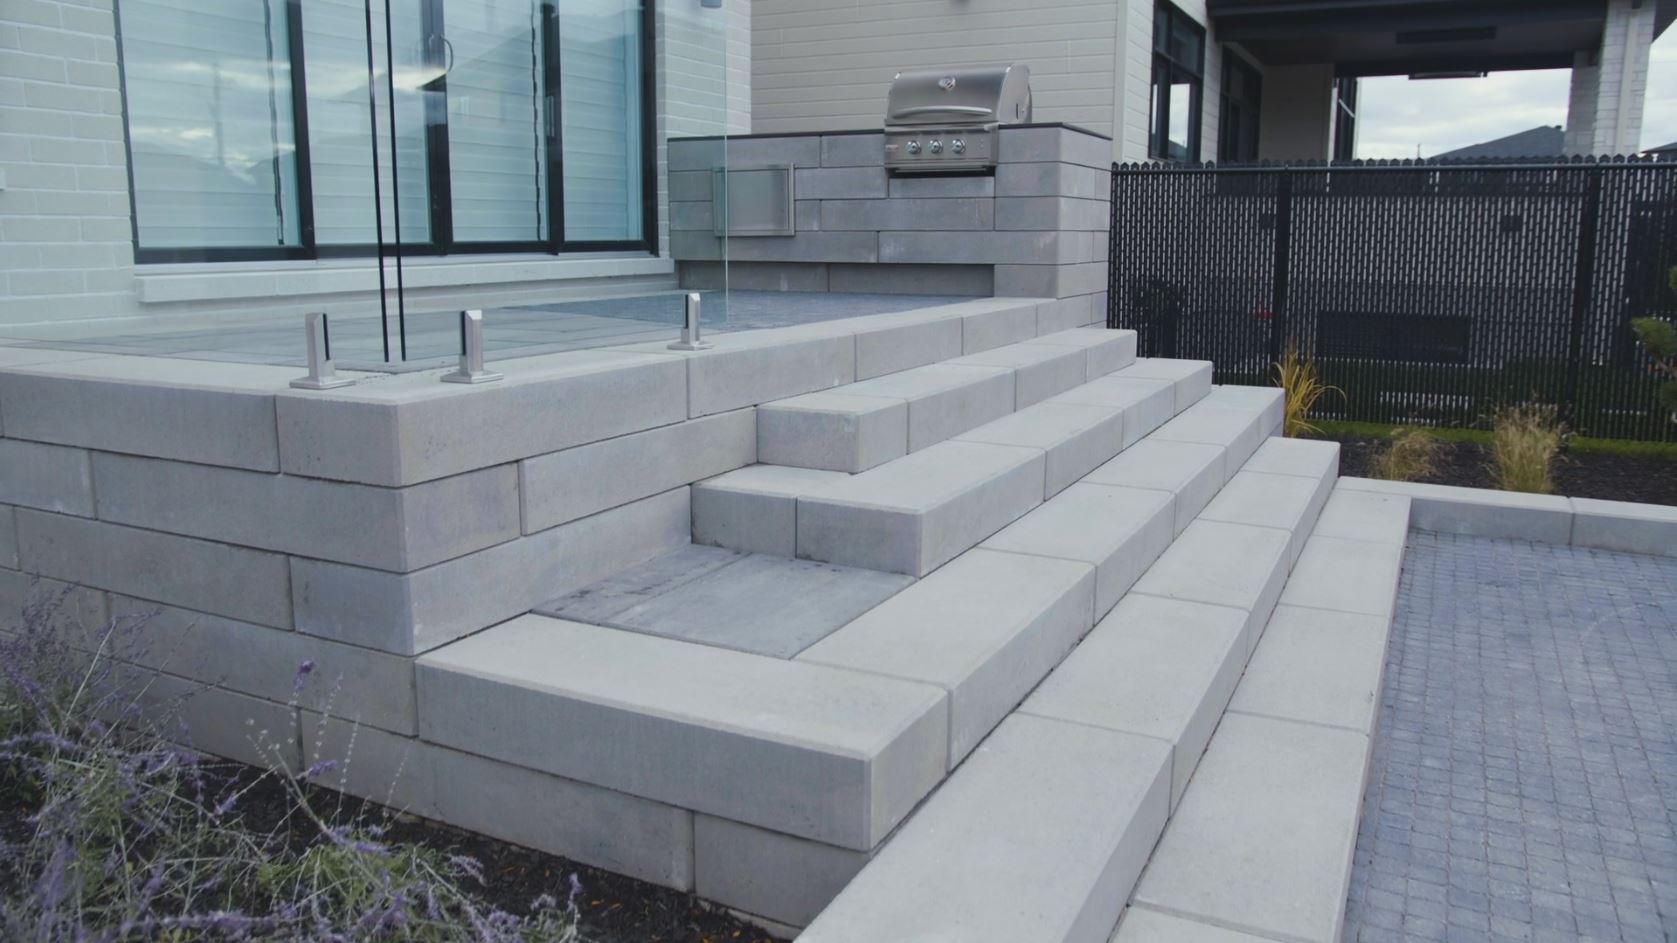

Impress your potential clients with a one of a kind patio offering. The raised patio we built last summer made a big impact with its permeability capabilities and distinctive look. Check out how we got it done in a day!
Conditions Assessment (video segment: 0:00 to 1:34)
Landscaping in proximity of new home construction poses some issues, like the position of utilities. For this project, our gas line was running right through the middle of our landscape.
There can also be contaminants, like trash, masonry pieces, metal and wood. It’s a concern because those materials are biodegradable.
The foundation wall was made with ready mix concrete, which is a naturally wicking medium. It has pores that transfer vapor, and a part of the foundation had already begun to crack.
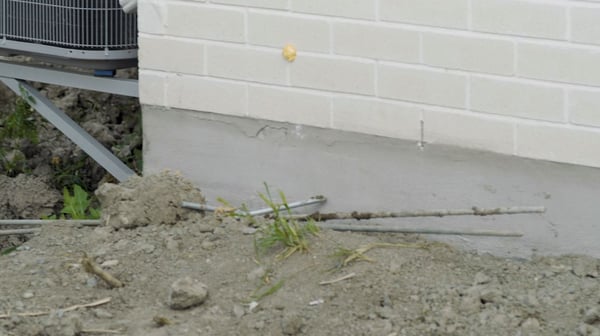
It means that water could potentially enter the basement. Since we needed to work near the foundation wall, we had to make it clear that we were not liable for this 8-foot area of over excavation, 2 to 3 feet out from the foundation wall, while ensuring no settlement.
Classify (1:35 to 1:55)
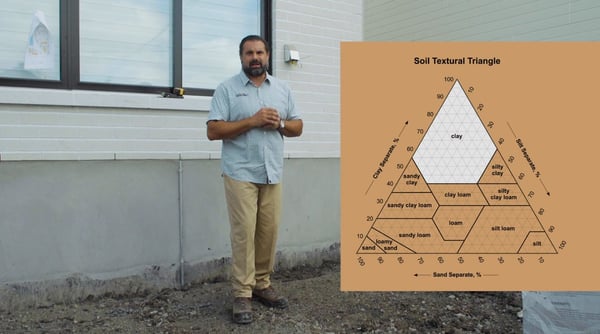
Following the National Concrete Masonry Association (NCMA) rules, the first step was to classify our soil.
Our soil had a California Bearing Ratio (CBR) of below 5. It can’t get any worst than this.
We applied our USCS and USDA pyramids to identify the component of our soil and we were in the clay zone.
Amend (1:56 to 2:42)
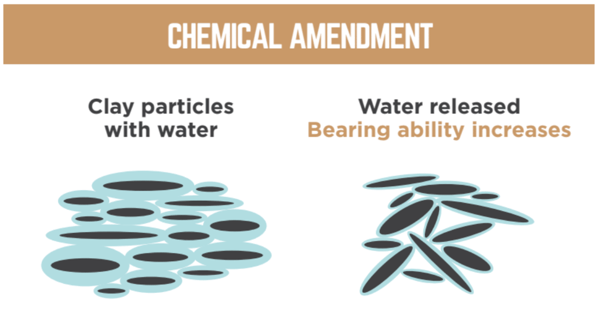
To change the chemistry of the clay particles, we applied a chemical amendment to our soil subgrade. We threw 50 pounds per hundred feet of granular lime across the soil.

Clay looks like plates that are set on top of each other. The particles allow water to get trapped beneath them.
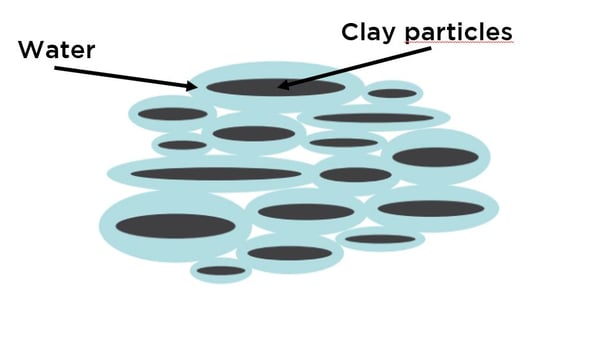
Once that lime interacted with the clay, it released the water.
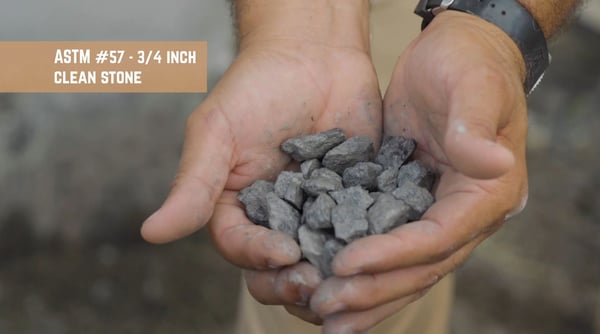
We also did a granular amendment with ASTM #57 stones (3/4-inch clean material).
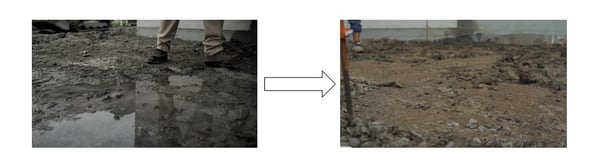
It changed the gradation of our clay subgrade and increased its bearing ability. A wider range of particles makes it stronger.
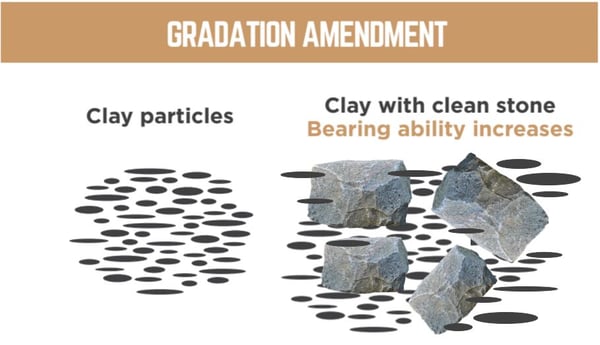
These amendments allowed us to obtain a soil solid enough to support the patio.
Compact (2:43 to 4:25)
We selected a jumping jack to compact the soil against the foundation wall. We used a point rammer type compactor from Bartell Global, the BT1400.
With a force of 3,000 pounds, we were well equipped to compact the soil against the foundation wall. It also works well in trenches, but not in open excavations.

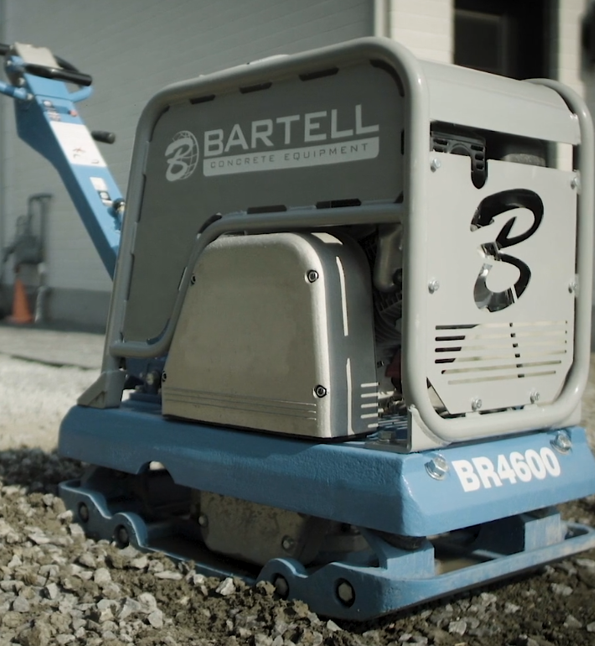
For all the other areas around our raised patio, we chose a 10,000-pound centrifugal force reversible vibratory plate compactor, the BR4600 from Bartell Global.
It moves forward and reverse at the same speed, which saves you time and money.
Building the base of the patio (4:26 to 5:24)
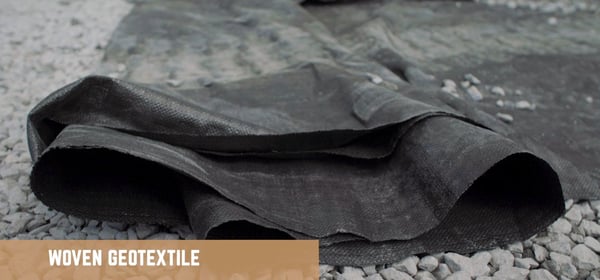
After the soil was classified, amended and compacted, we installed a geotextile fabric over the soil subgrade, the Gator Fabric GF5.
We extended this woven geotextile fabric up the sides of the excavation and shingled it, with an overlap of 2-3 feet.
As a base material, we used ASTM #57 stone, a self-consolidating material. Little-to-no compaction effort is needed to get this material to its maximum level of density.

We also sandwiched 4 inches of the base between a layer of Gator Grid GG 30-30, a biaxial geogrid that will give the patio enough strength to resist the passing of time.
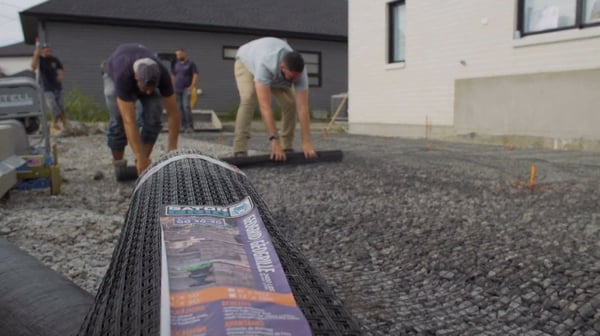
Check out this video for an explanation of how a geogrid works for pavement:
Drainage (5:25 to 6:14)
We needed to manage drainage well for this backyard patio construction.
We installed our drain at the lowest grade point and incorporated the new Quick-E-Retaining Wall Spillway from Pave Tool Innovators, along with a schedule 35 pipe.
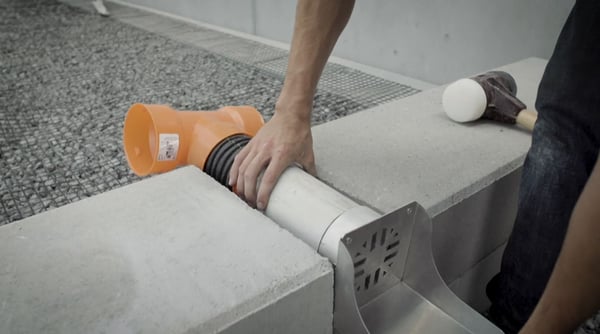
The patented lip on the spillway allowed any water that may be trapped behind this application to runoff outside of the area of excavation.
We also installed a drainage swale to direct water towards the road so it would not affect the integrity of the wall.
Finished Grade & Hybrid Pavement (7:08 to 8:29)
To build the patio, we used Raffinato Step units. This product has a consistent 7" rise, so we were able to use it for the entire raised patio structure. It has a tread depth of 14,5" so it makes it very comfortable to walk up the steps.
We respected the International Building Code (IBC) requirements:
- Step rise between 4" and 7 ¾"
- Tread depth of min. 11"

Because of its 14,5" tread depth, we also used it to build a part of the landing of the raised patio, along with HD2 Smooth Blu Grande slabs in Shale Grey. It complements the scale and smoothness of the Raffinato Steps well.

We installed the Blu Grande units in a permeable application, with open graded stone and bedding and Gator Aqua Rock #9 stones from Alliance as our joint fill.
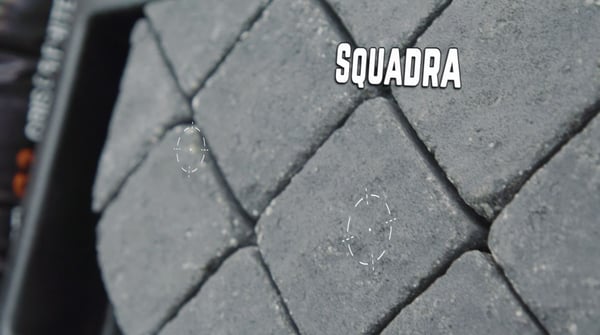
To make a contrast, we laid Squadra pavers (3.5" x 3.5" x 2 3/8" units) as well, in a hybrid pavement application. It has the same open graded base and bedding layer, but the joint fill is different. We used the Flexlock Ultra G2 dustless polymeric sand.
Protecting the house (8:30 to 9:38)
The side of the raised patio next to the foundation of the house is called a relief wall.
We needed a space between the house and the structure because we don’t want it to press against the home and the basement. The relief wall prevents unbalanced fill and allows air circulation.
The 1/2" gap would typically be covered by a cap, but in this case, there was no cap. However, that space needed to be filled in.
We inserted a pliable closed cell foam in the gap to maintain air circulation and trap debris on the surface so they can be easily be cleaned out.
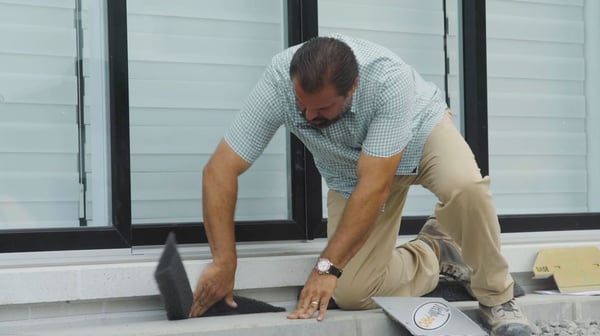
Mini Grill Island (9:39 to 10:35)
On the far side of the raised patio, we constructed a mini grill island. In addition to its functionalities, it also acts as a barrier to make sure that nobody falls off the elevated structure.
We used Raffinato Step units again to build the grill island. We inserted an access door to help with the ventilation on one side and the Pave Tool Innovators Quick-E-Fire Vents to create cross ventilation.
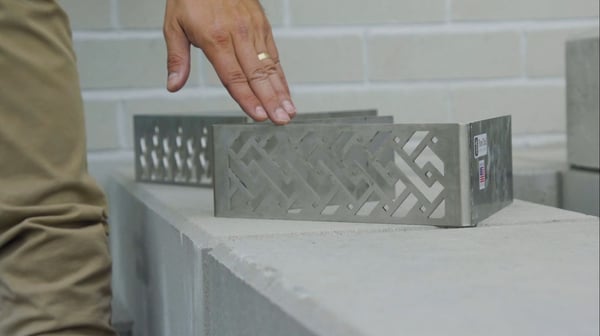
In doing so, condensation would not build up and it gave homeowners a nice attractive look. Also, it keeps them from running an oven often in the summer, saving energy.
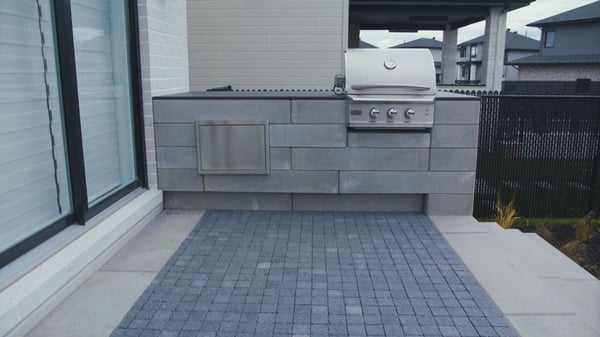
This is what the finished mini grill island looks like:
Drainage of Planting Gravel Island (11:18 to 11:44)
The planting decorative gravel island is located close to the foundation wall, so it needed to be properly drained. We achieved this thanks to the Quick-E-Adjustable Patio Drain from Pave Tool Innovators.
This area was also going to be irrigated and we wanted to avoid any ponding and pooling water. We drained it out to daylight.
Railing System (11:45 to ending)
Following IBC and engineer specifications, we installed a railing system on the outdoor patio. We also ensured not to give these homeowners an obstructed trapped feeling in the outdoors, usually created by wood decks.
We chose a tempered glass railing for this raised patio application. We had four options to mount it:
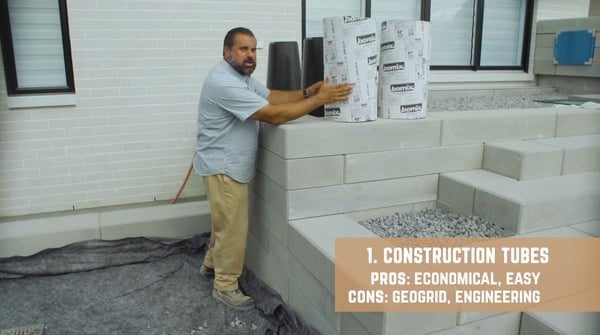
- Construction tubes. They are usually installed in the aggregate base behind the wall. They present the advantages of being easy to install and economical, but we needed to cut the geogrid to put them in place, and a lot of engineers won’t agree with this.
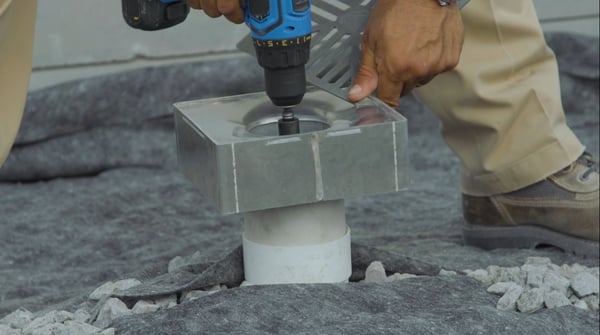
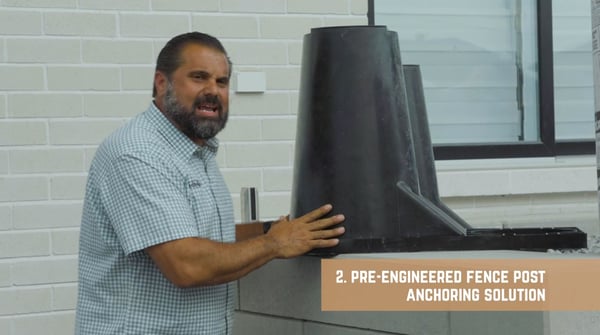
- Pre-engineered fence post anchoring solution. It’s a proprietary rail installation system that is conically shaped, with a base foot and a perforated top. It’s usually installed behind the wall and filled with concrete to support the railing. It is designed by engineers to work with geogrids, so it was a great option.
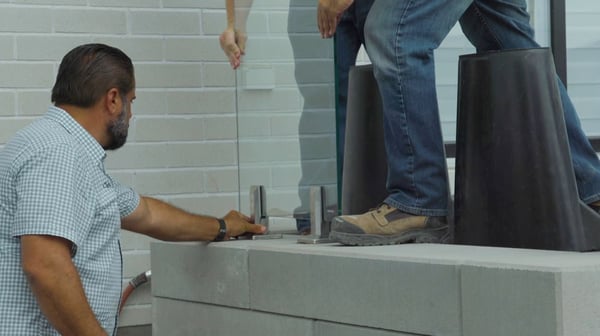
- Wall-mounted anchors. They give a clean modern look.
- Top-mounted anchors. On full depth step units, they are adhered together according to an engineer specification. They also provide a clean, modern and value-conscious look.
We chose top-mounted anchors.
Refer to this cross section for additional help:
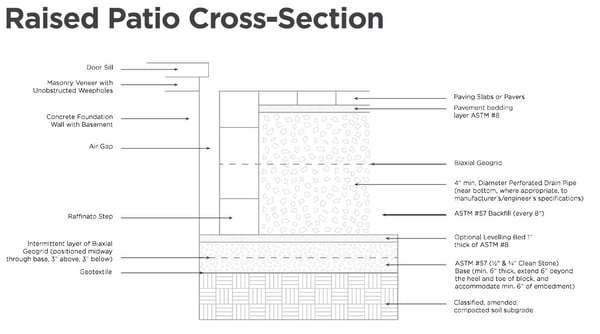
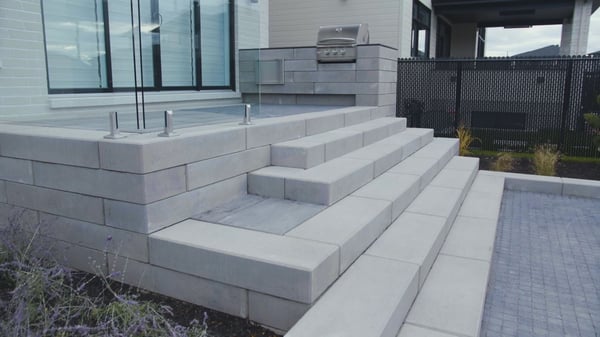
Here are final pictures of the completed patio:

JOIN OUR TEAM OF EXPERTS AND GAIN ACCESS TO TOOLS THAT WILL MAKE YOUR BUSINESS MORE PROFITABLE TODAY!
